One of our most exciting products is the chatbot. Once set up, it will be ready to answer questions for your website visitors, which will help increase enquiries and drive more sales for your organisation.
It's really quick and easy to get started — the whole process will only take you a few minutes, so without any further delay, let's get started! :)
Create an account and add your website
This How To assumes you have already created an account and added your website. If not, please go here first.
Once you've done that, you are ready to start setting up your chatbot!
Find your chatbot's settings
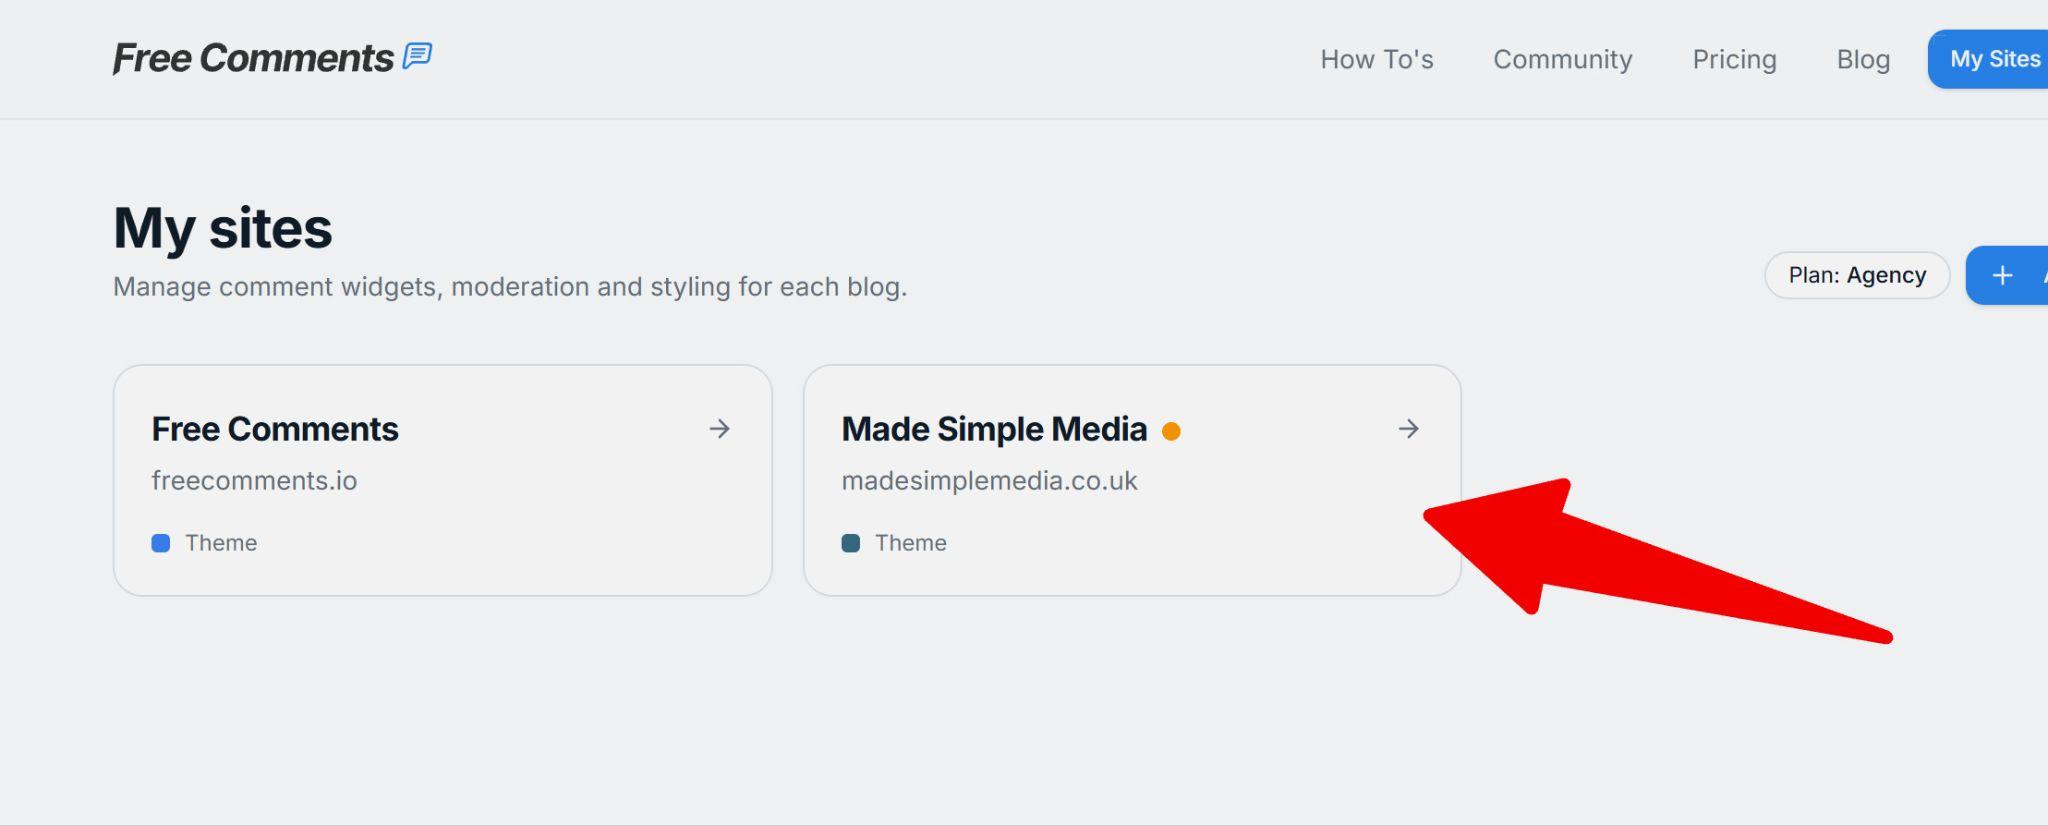
Log in to Free Comments, go to My Sites, and click on your website:
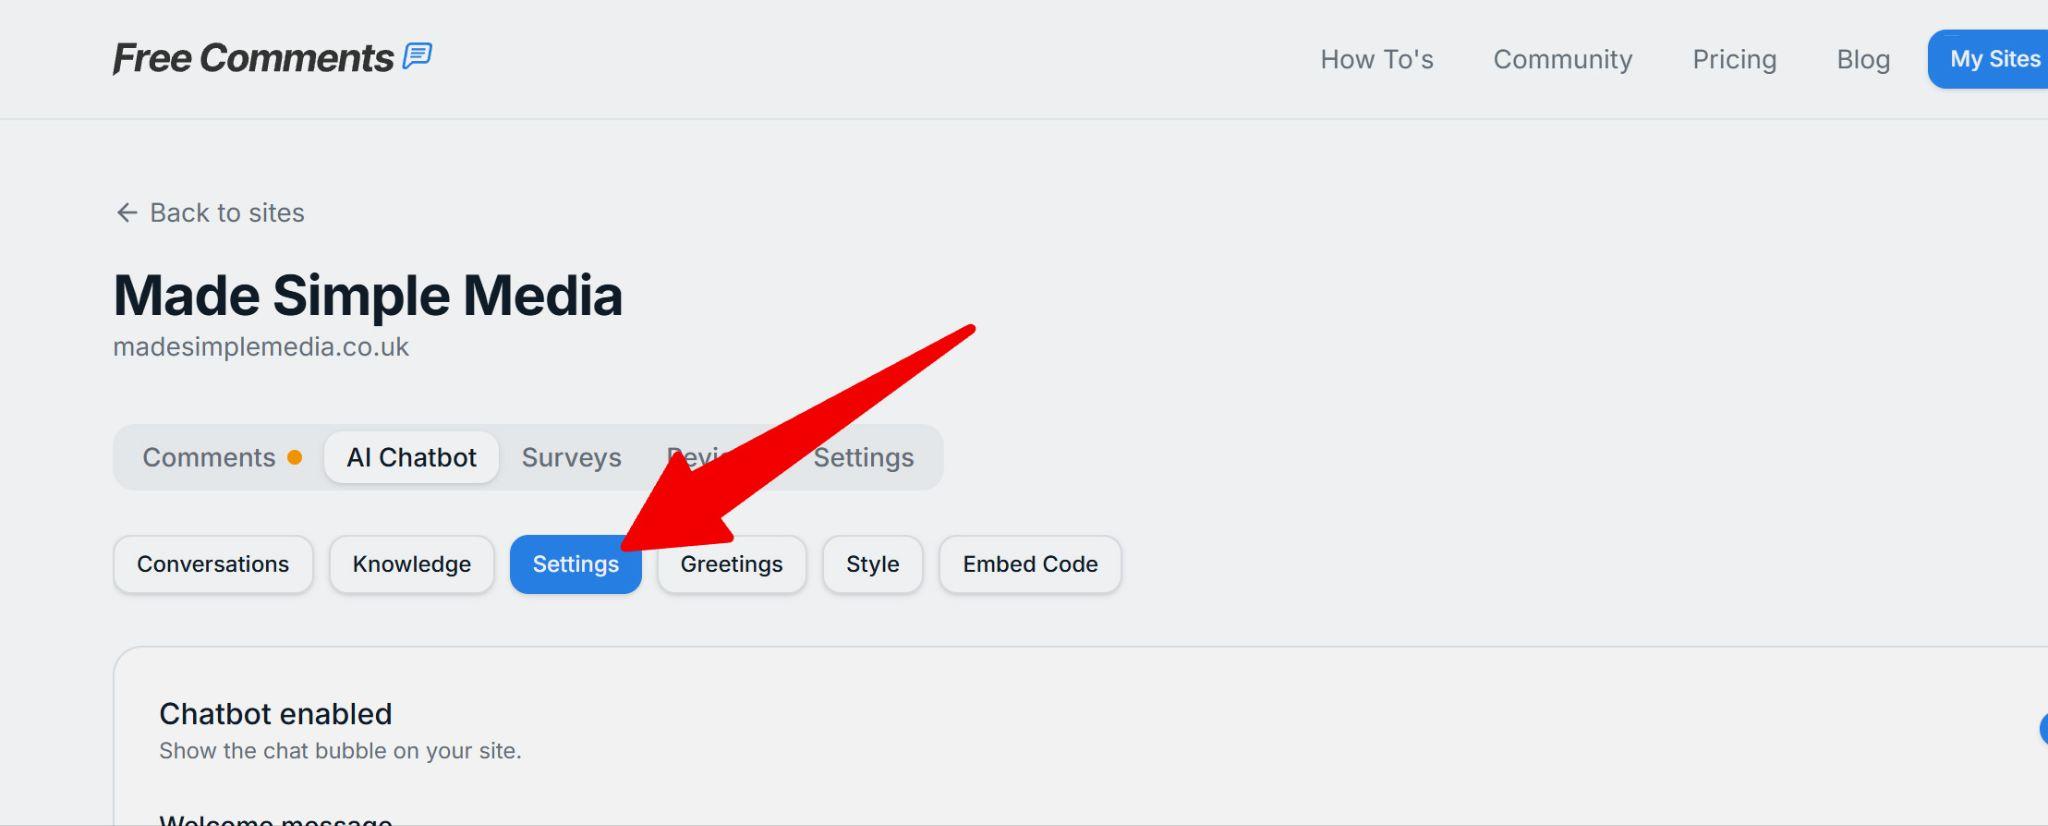
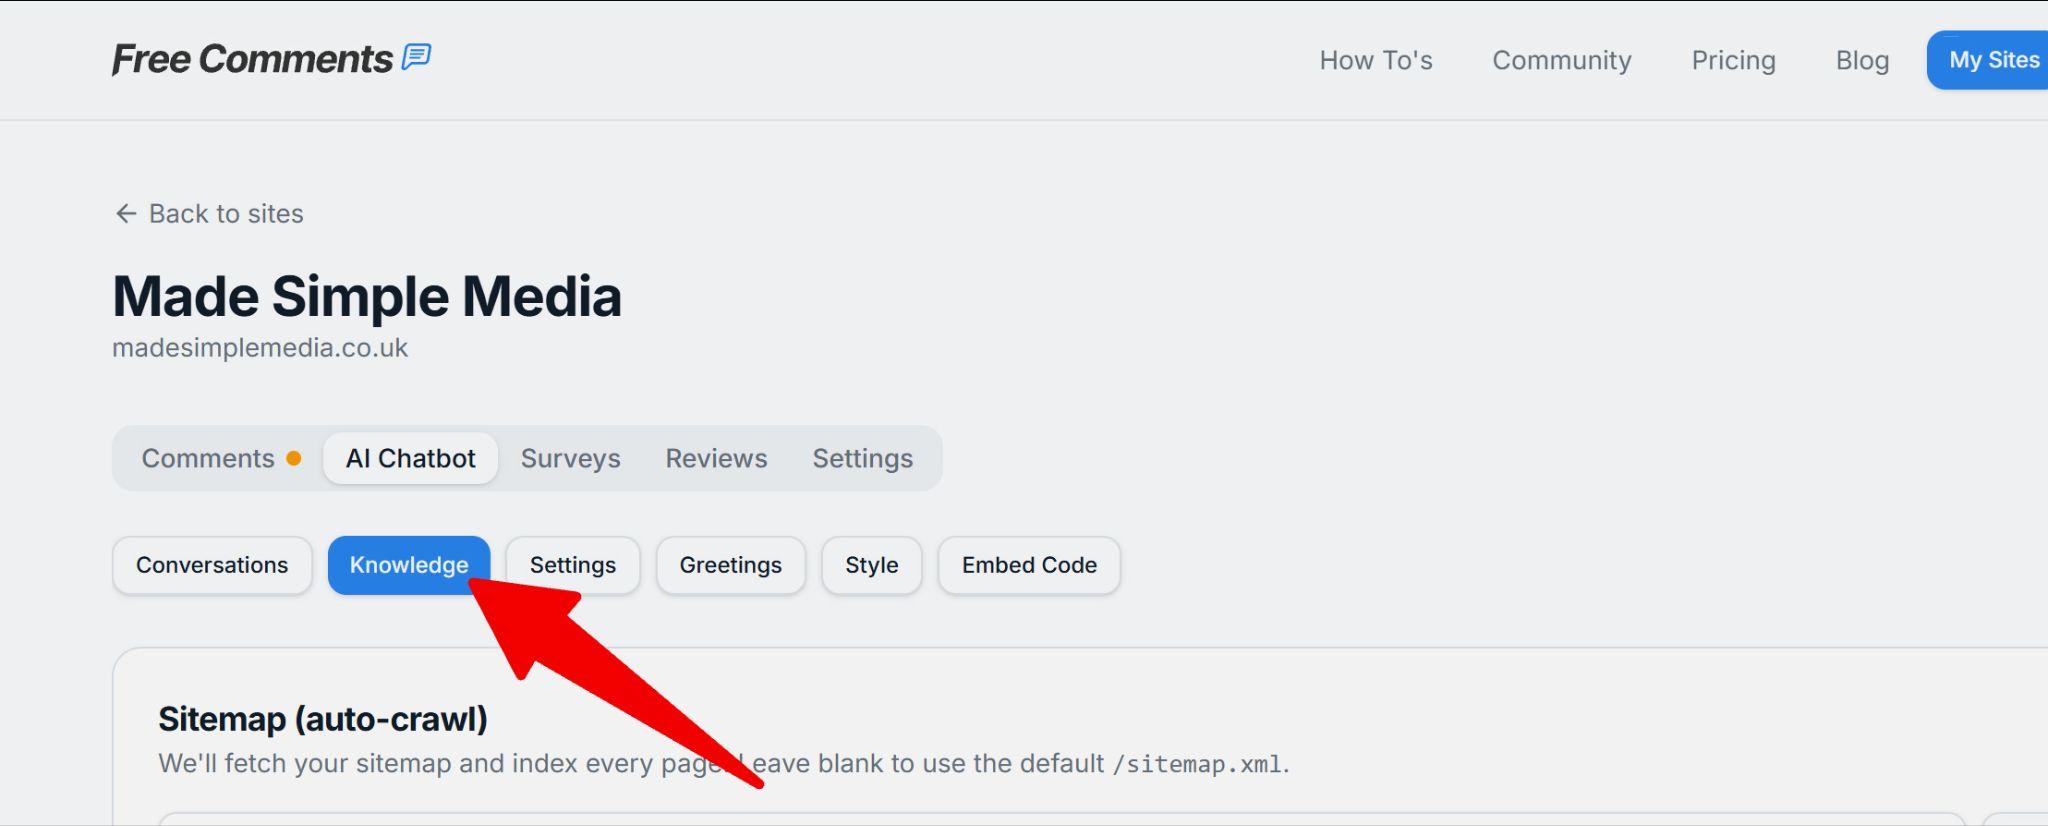
Next click on the AI Chatbot tab here:
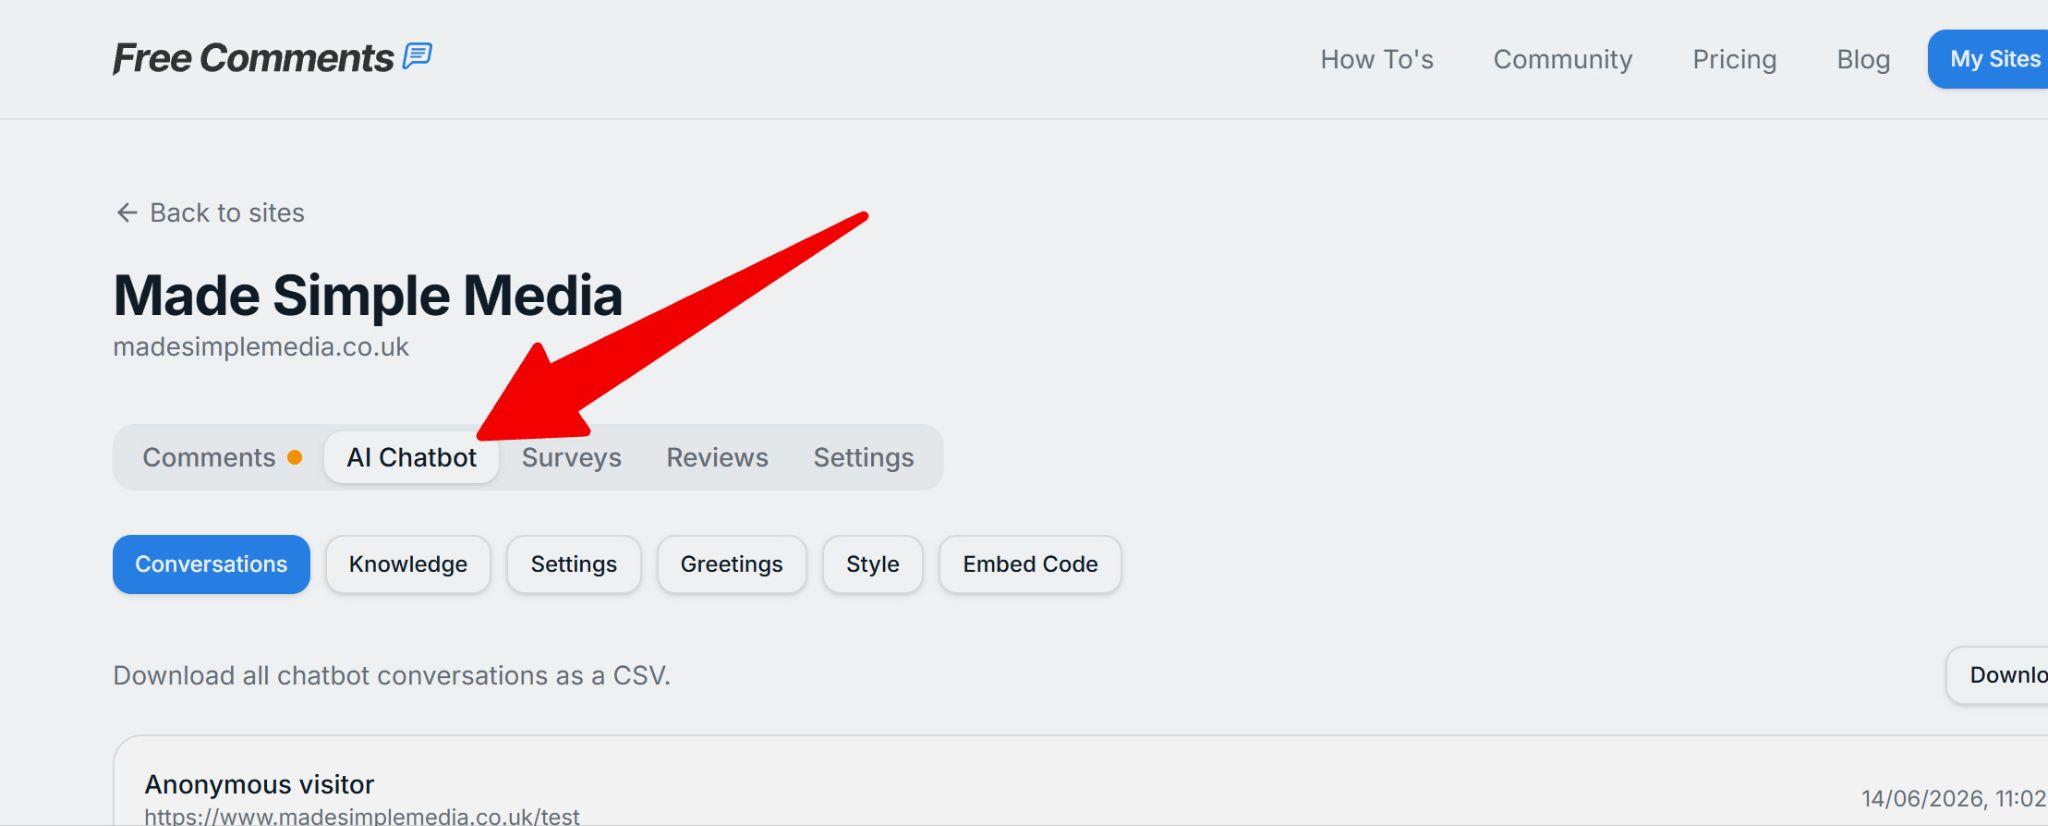
Next we'll get your chatbot styled and ready to go!…
Styling your chatbot
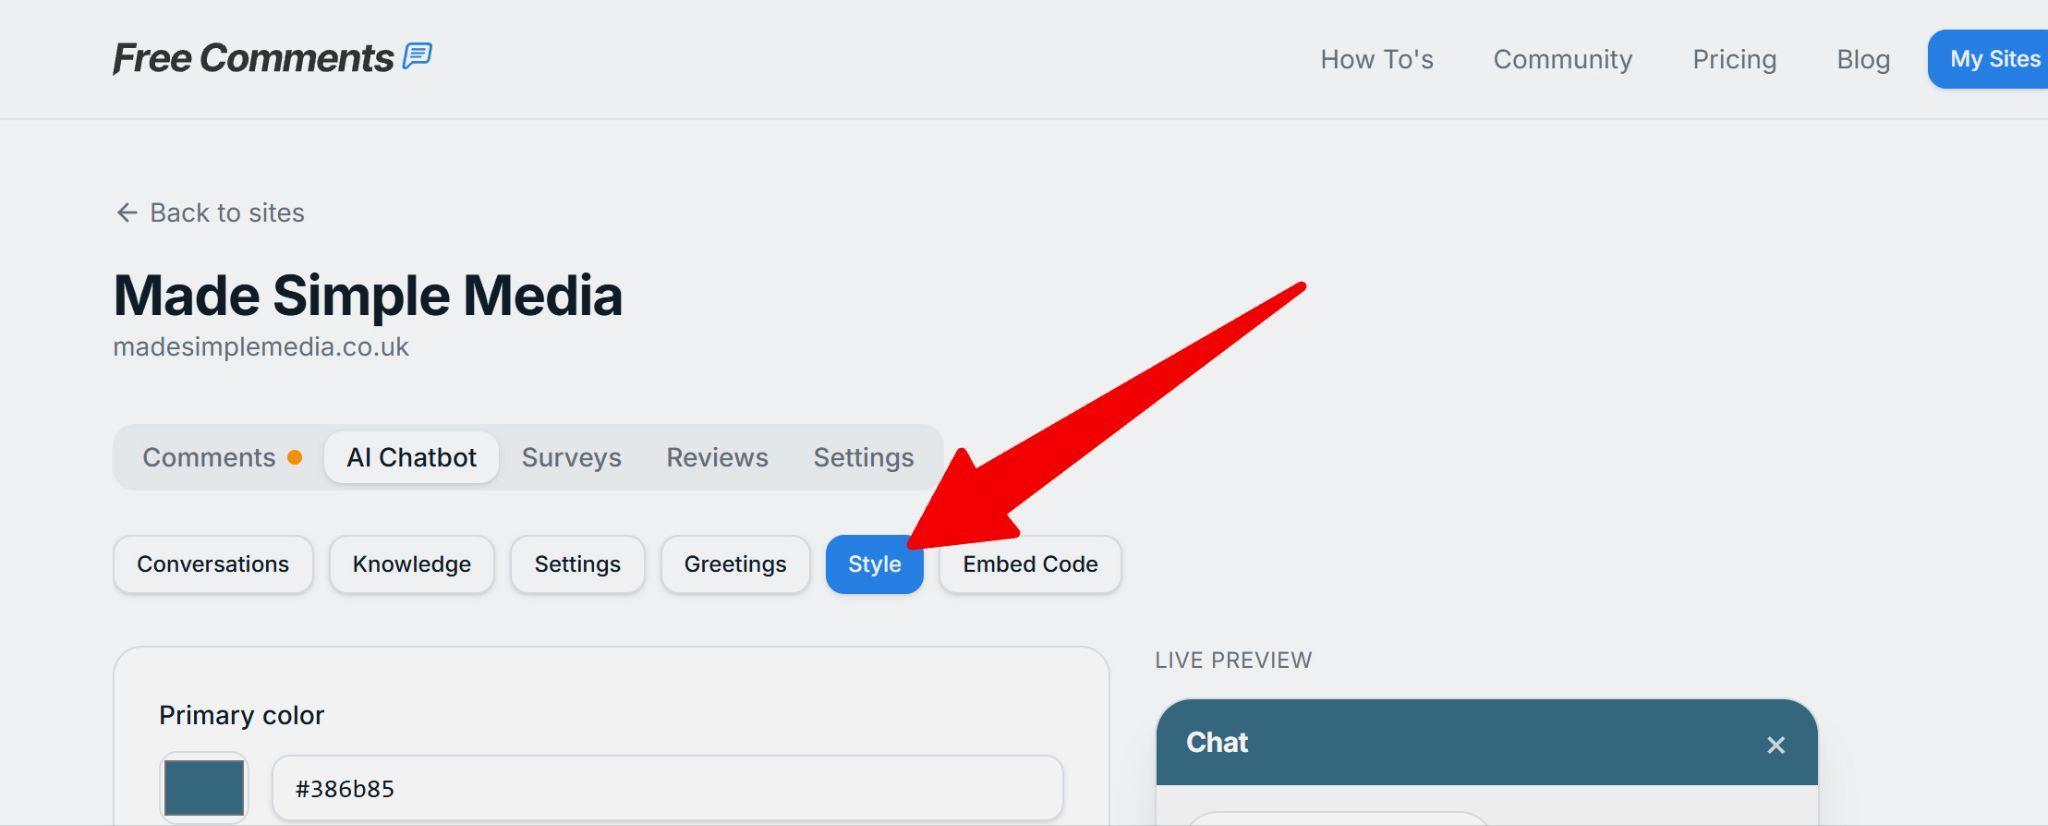
In the AI Chatbot section, click on the Style tab:
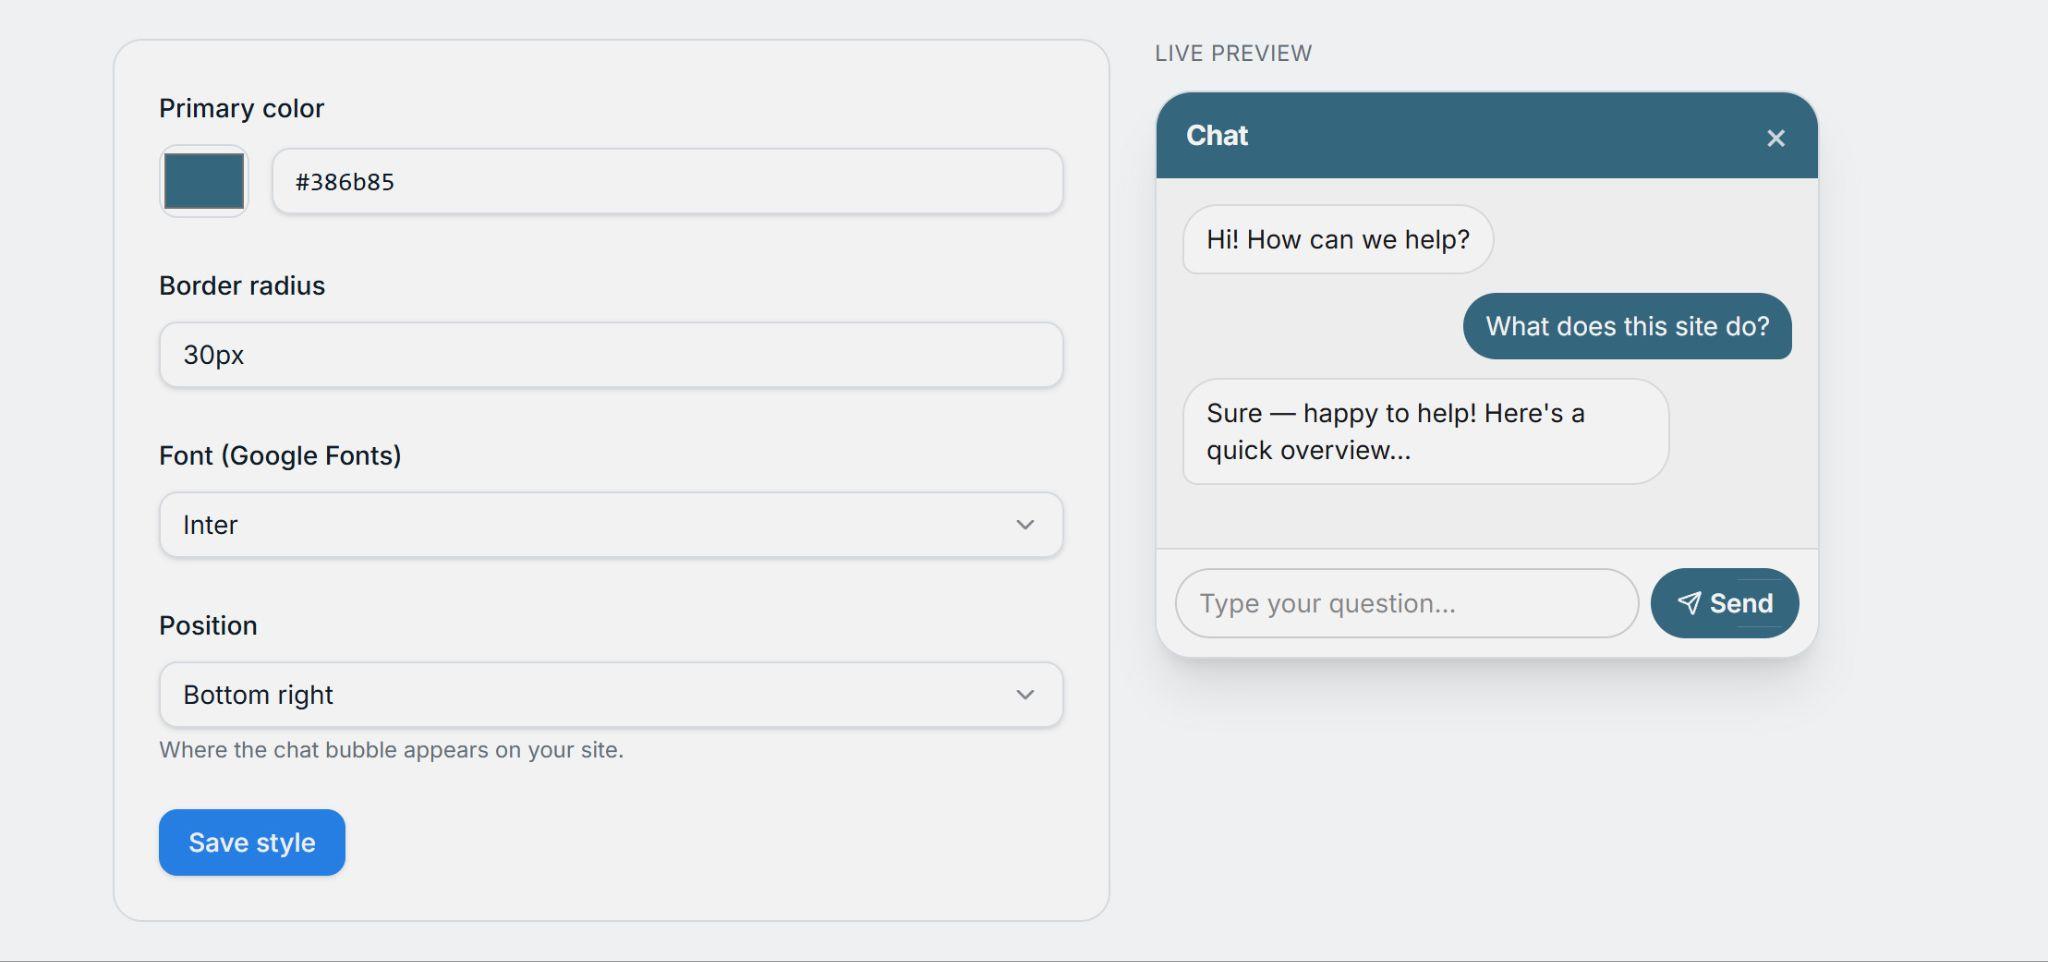
Set your colors, fonts and other layout settings to match your website. You want it to match as closely as possible so it looks professional and trustworthy.
You can see a preview of how it looks on the right as you change your styling settings:
Set up greetings
Greetings allow your chatbot to say hello to visitors automatically, to improve the chances of them interacting with it. This can "break the ice" and help them get in touch or buy from you.
Click the Greetings tab here:
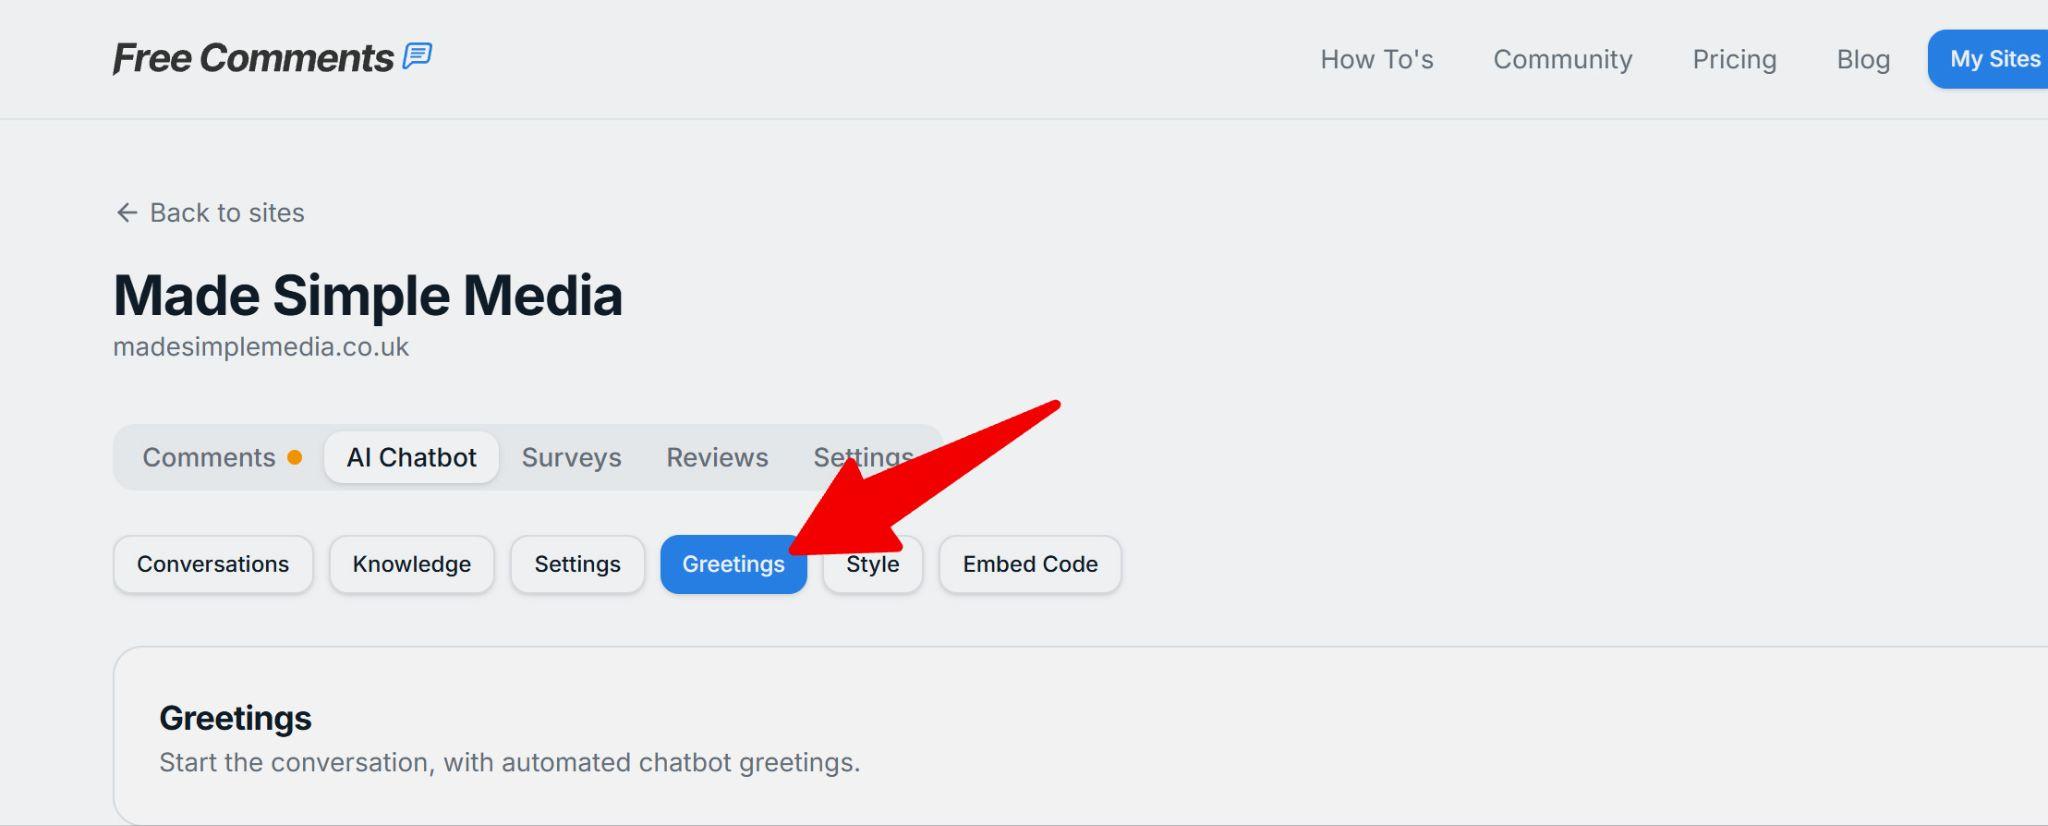
To add a new greeting, click the Add greeting button:
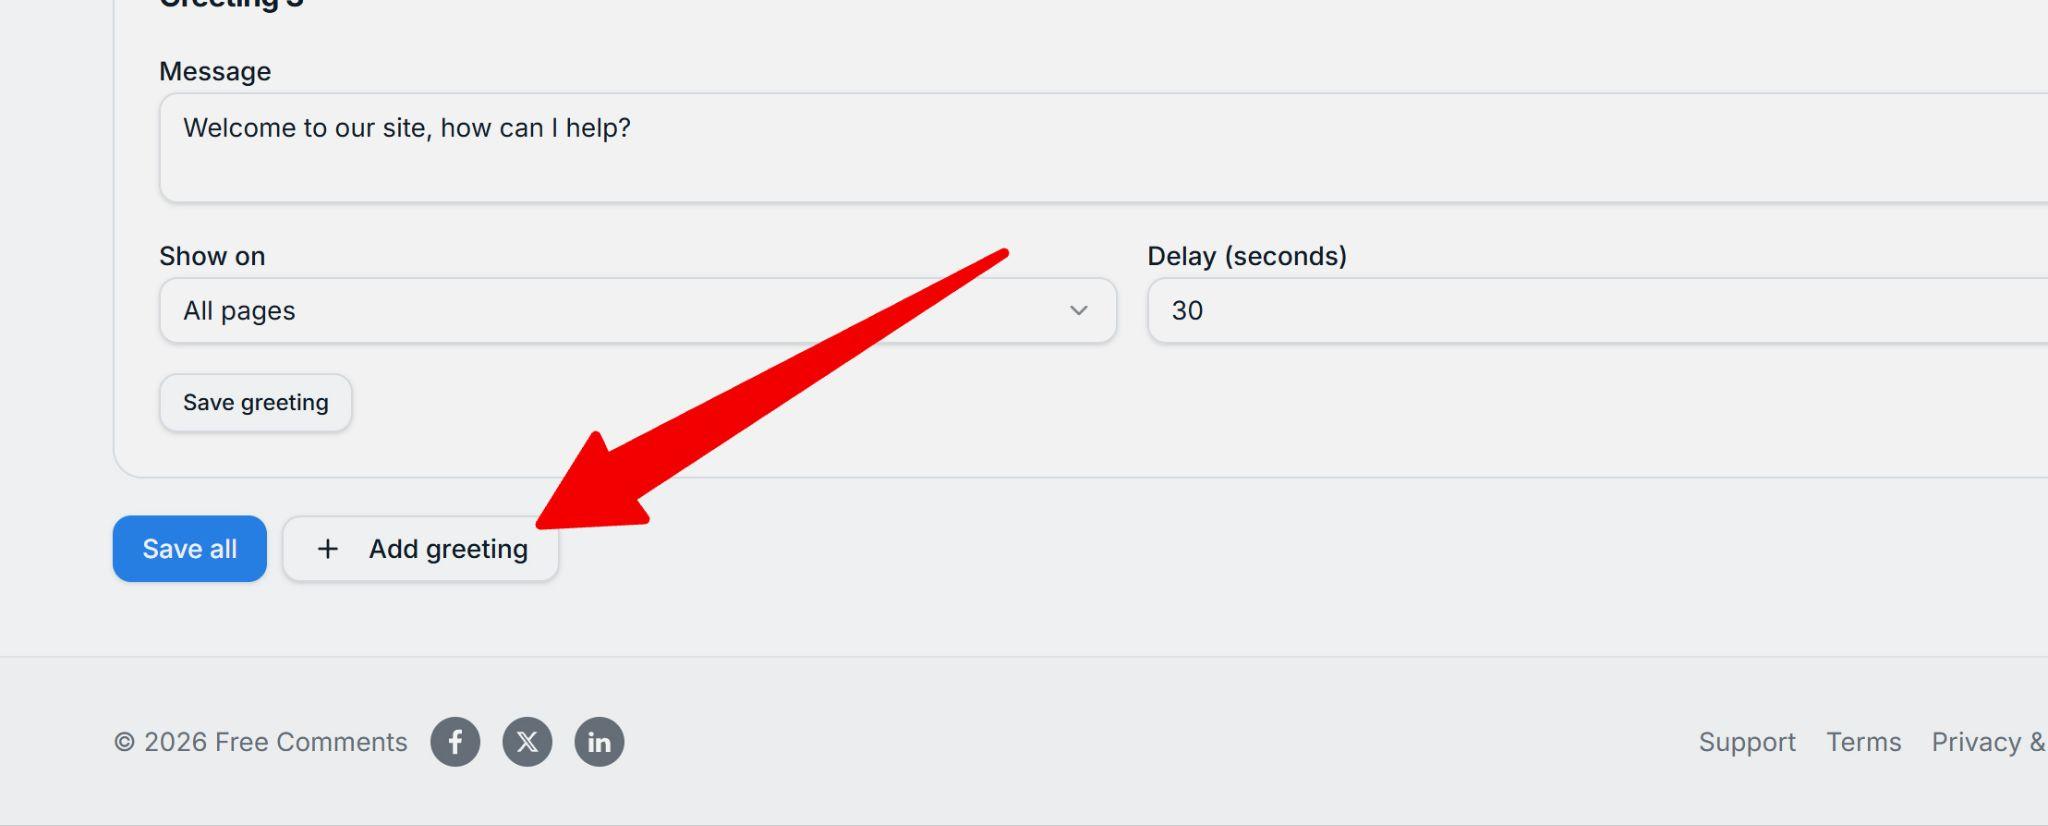
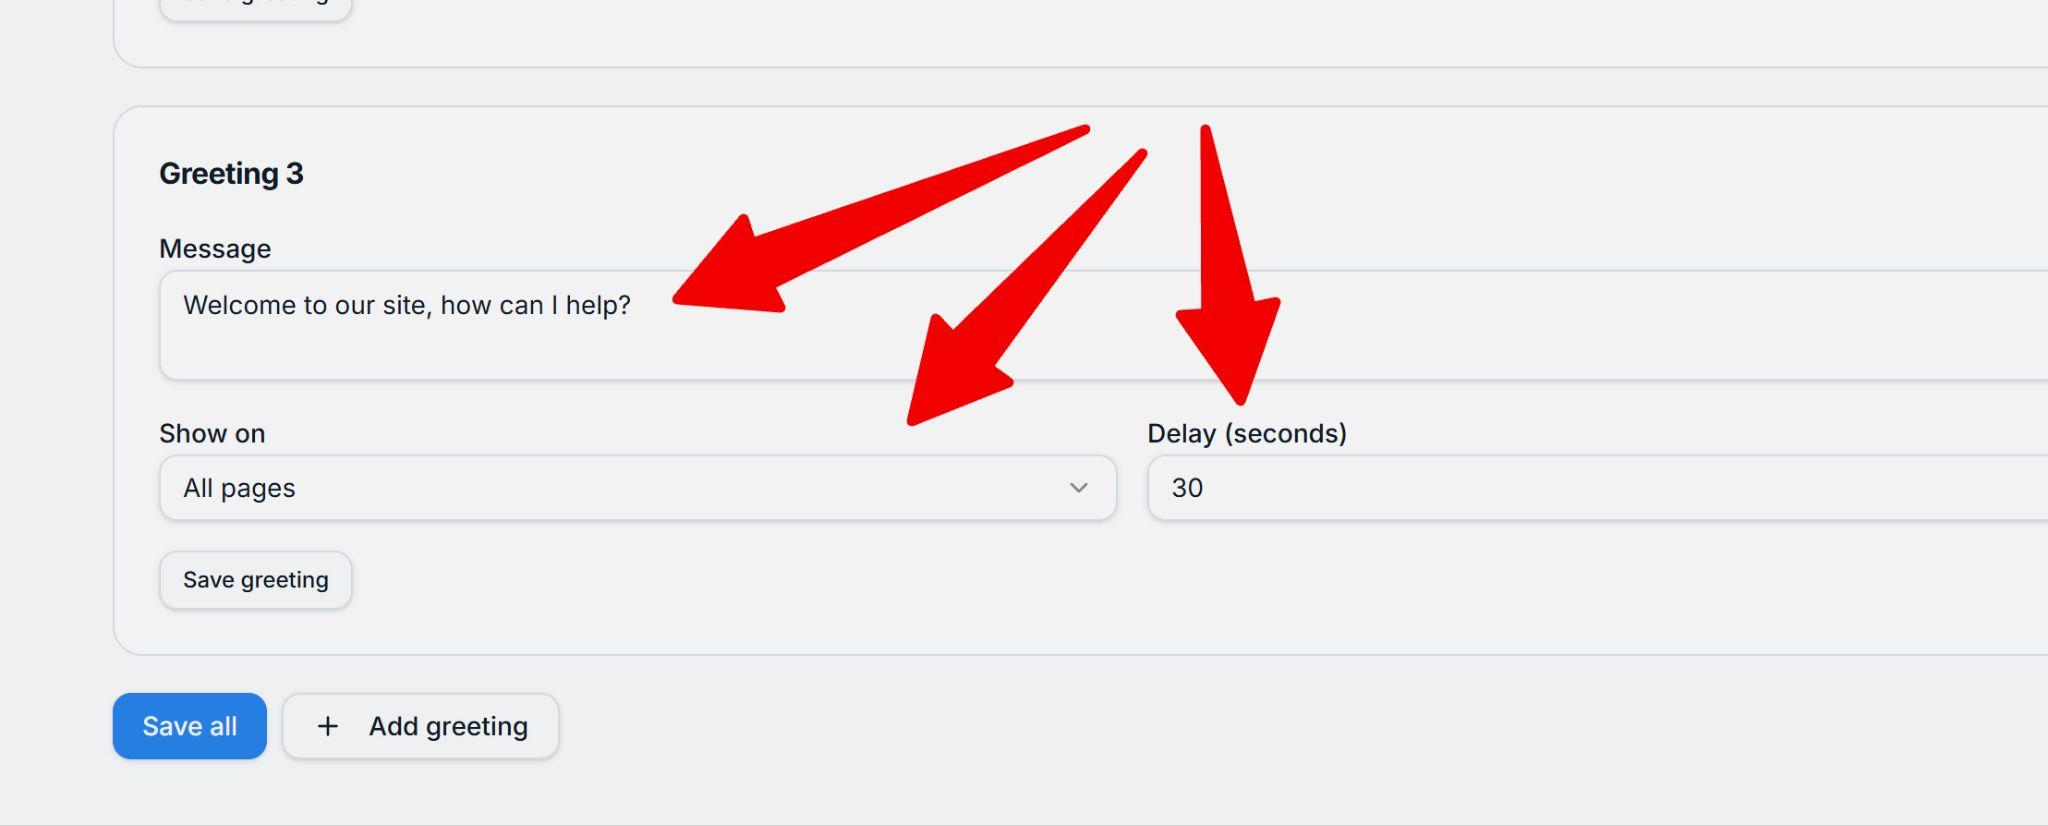
Now enter the message you would like to use as a greeting, or leave the default text. Also choose the delay — for example, enter 0 if you want the chatbot to immediately greet visitors, or 10 if you want it to appear after 10 seconds:
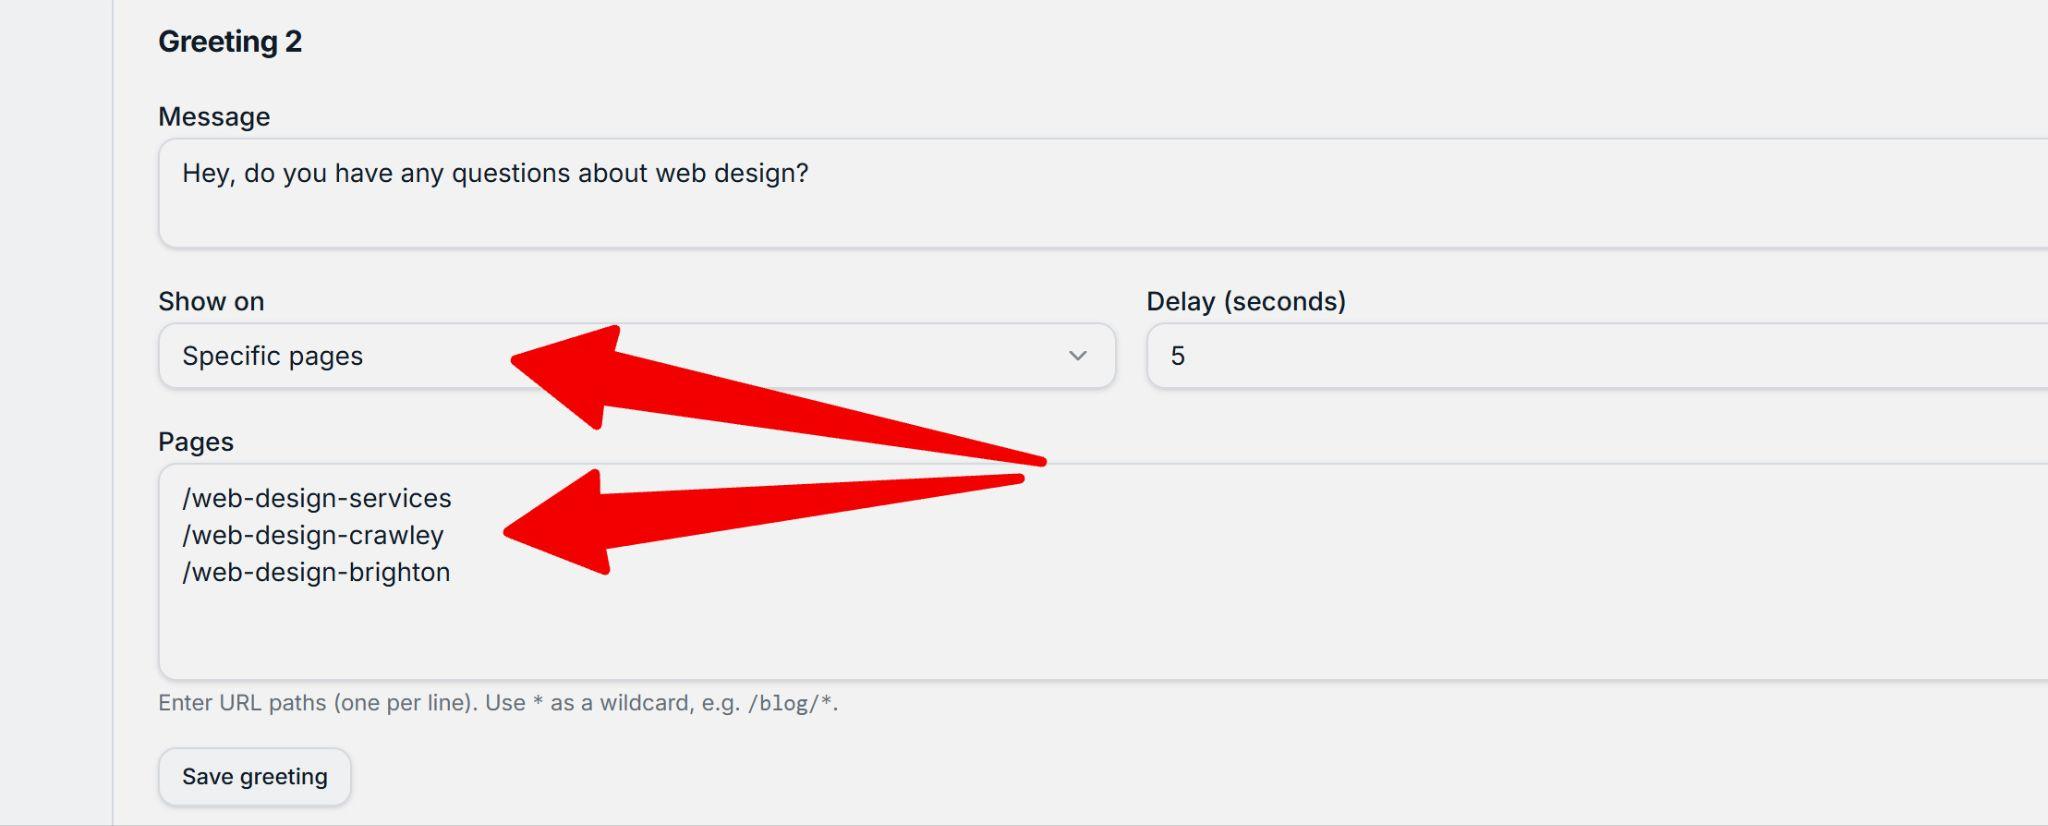
Paid plans only: select the pages where you want this chatbot greeting to show. This allows you to tailor greetings to the content of important pages on your website. For example, if your page is about pricing, your chatbot could greet visitors by saying "Hello, do you have a question about our pricing?"
The Free plan allows you to add one greeting that shows on all pages.
So, if you are on a paid plan, you can add your page URLs like this:
View chatbot settings
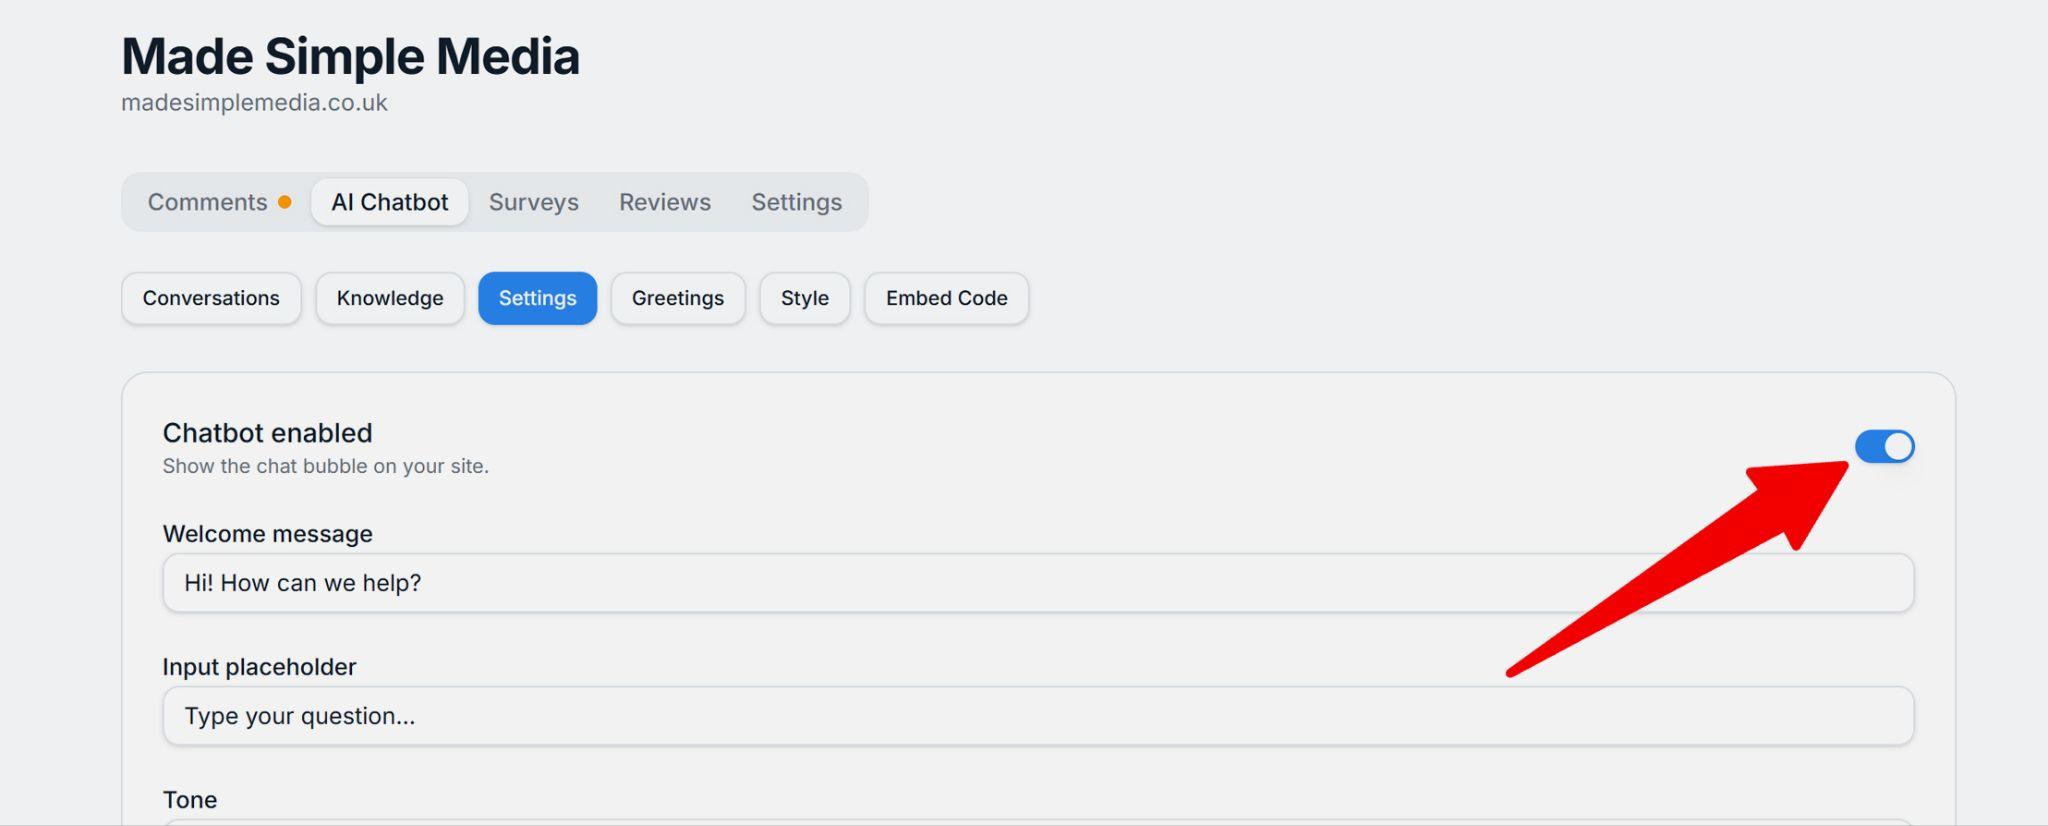
Next, go to the Settings tab:
You can enable and disable your chatbot here:
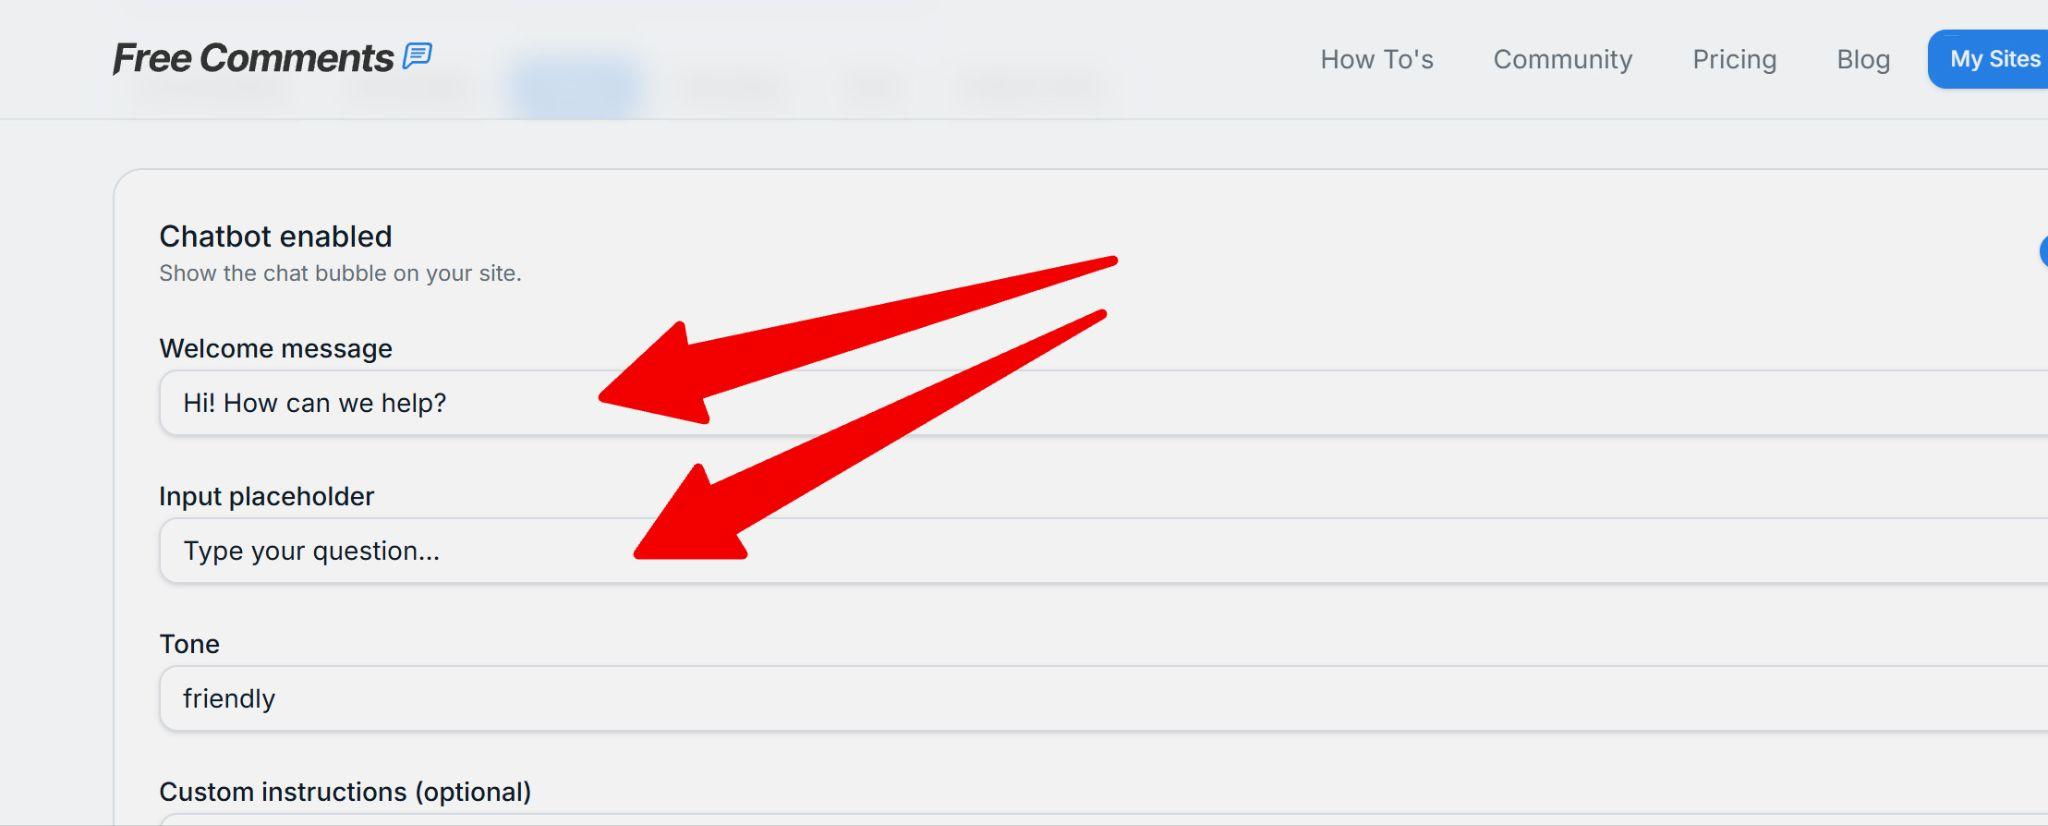
Customize your welcome message, which is used when the chatbot greets a visitor. The input placeholder is for the field where users click and type their question. You can change this text should you wish to:
Custom instructions allow you to tell the chatbot extra things you would like it to do:
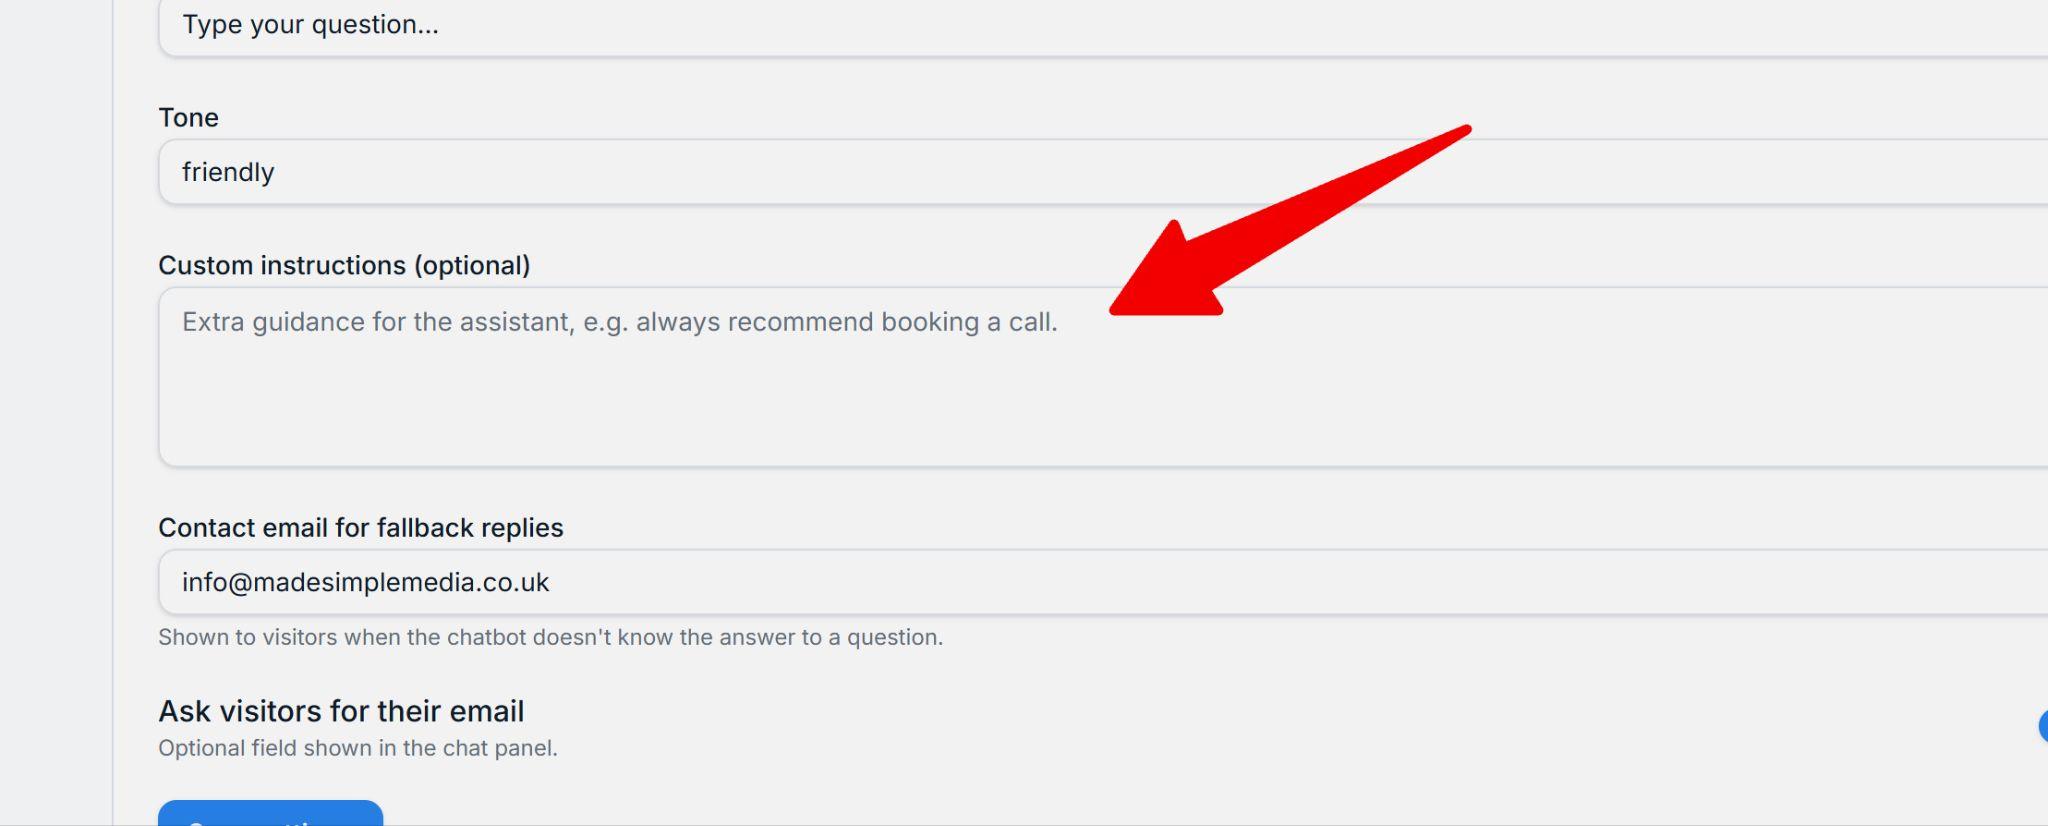
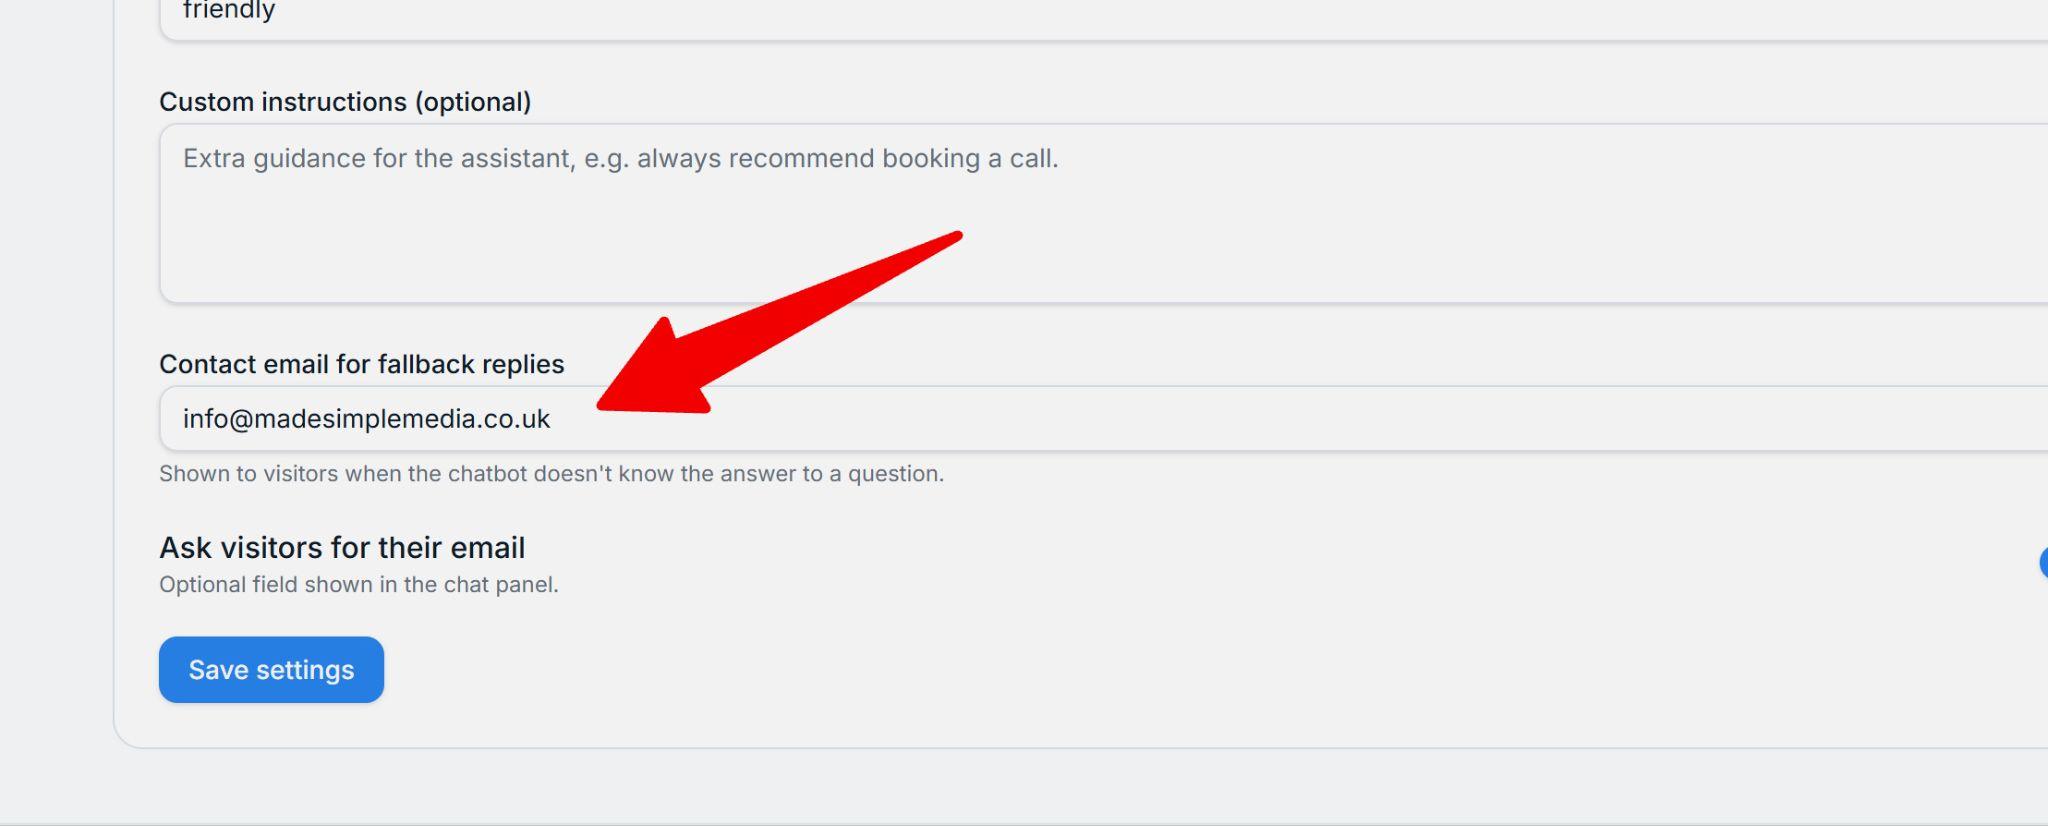
Next is a box for your contact email address, which the chatbot will show to visitors when it doesn't know the answer to a question:
You can also ask visitors to leave an email address, so you can contact them after the chat:
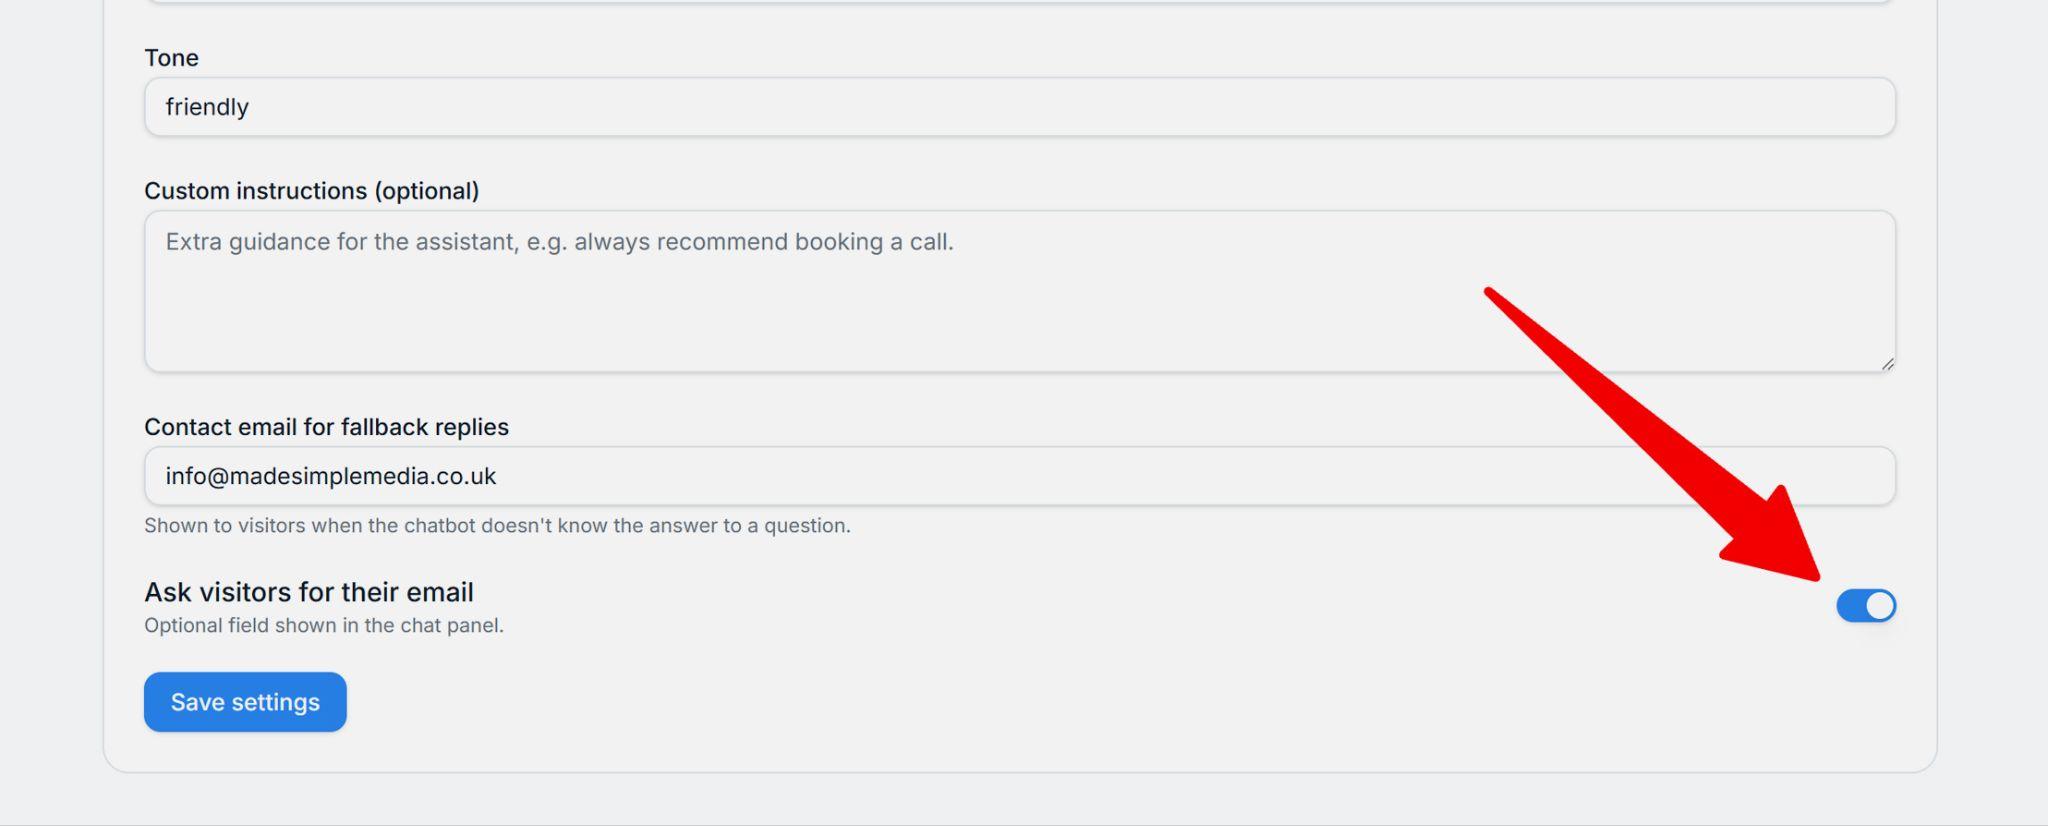
When done, Save settings.
Give your chatbot knowledge!
Go to the Knowledge tab:
Add your XML sitemap here and click Save. This tells the chatbot about all the pages in your site and where to find them. If you are not familiar with XML sitemaps, please read this article first.
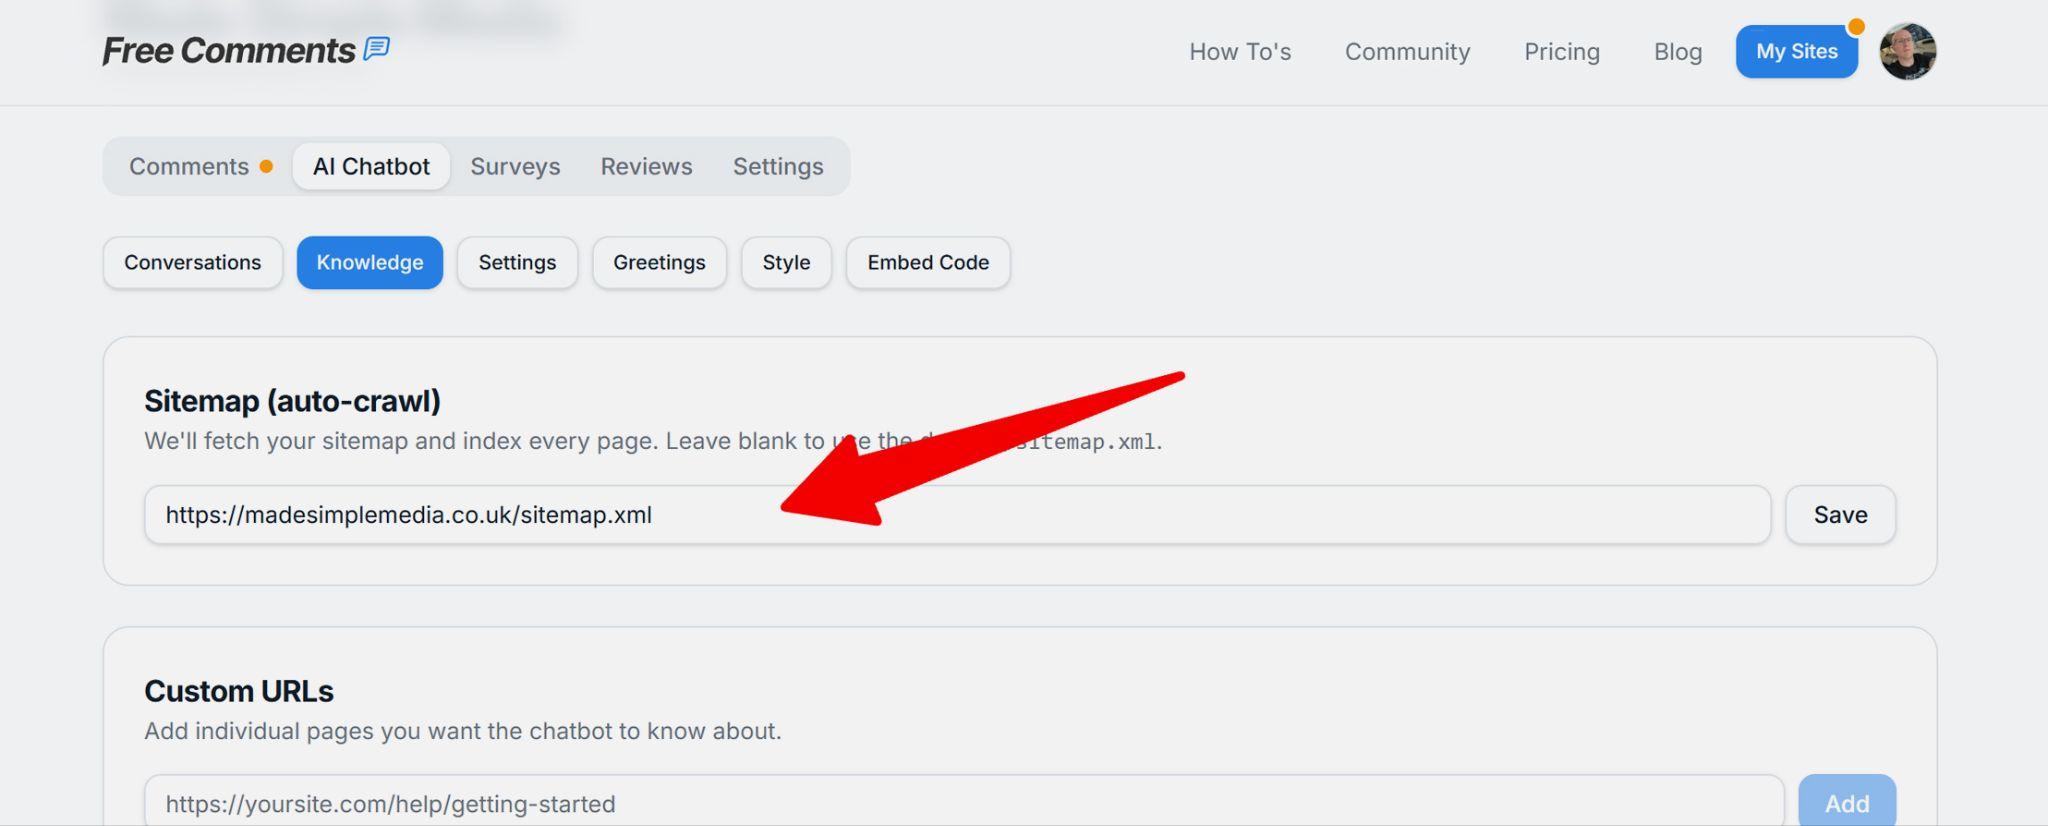
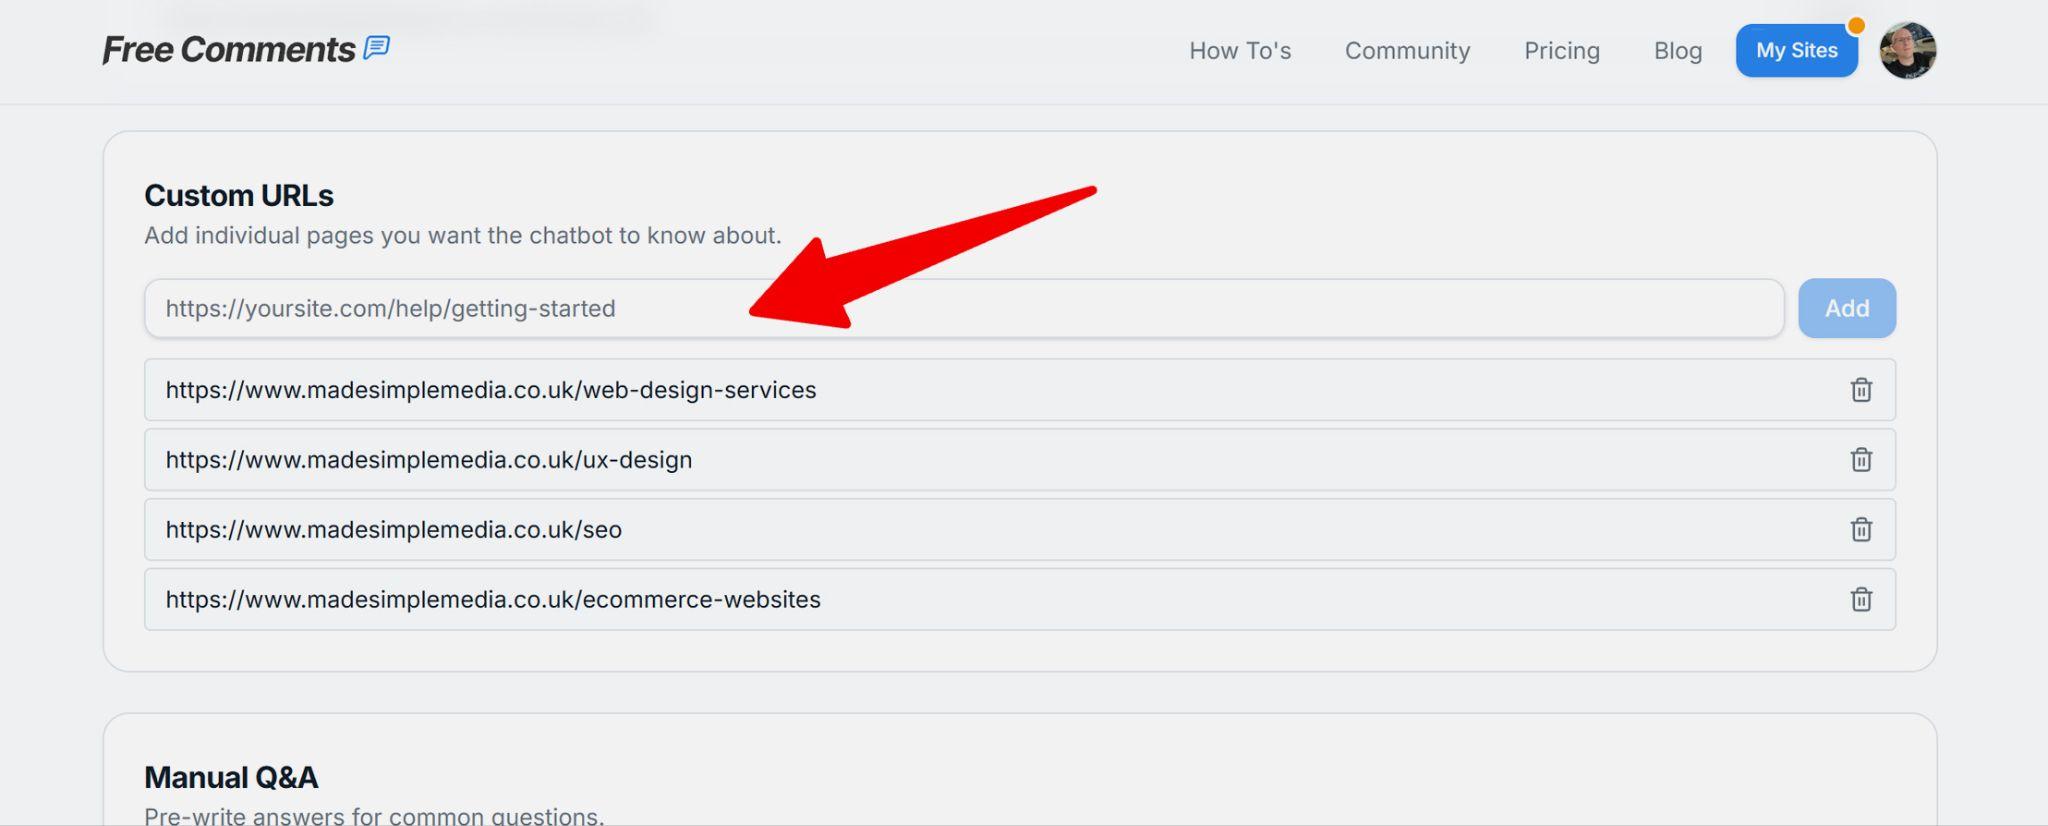
Next, if you are on a paid plan, you can add Custom URLs. These specific URLs should already be covered by indexing of your site, but you can reinforce important information from service or product pages or your delivery page just to make sure your chatbot knows about important topics that your visitors will want to know:
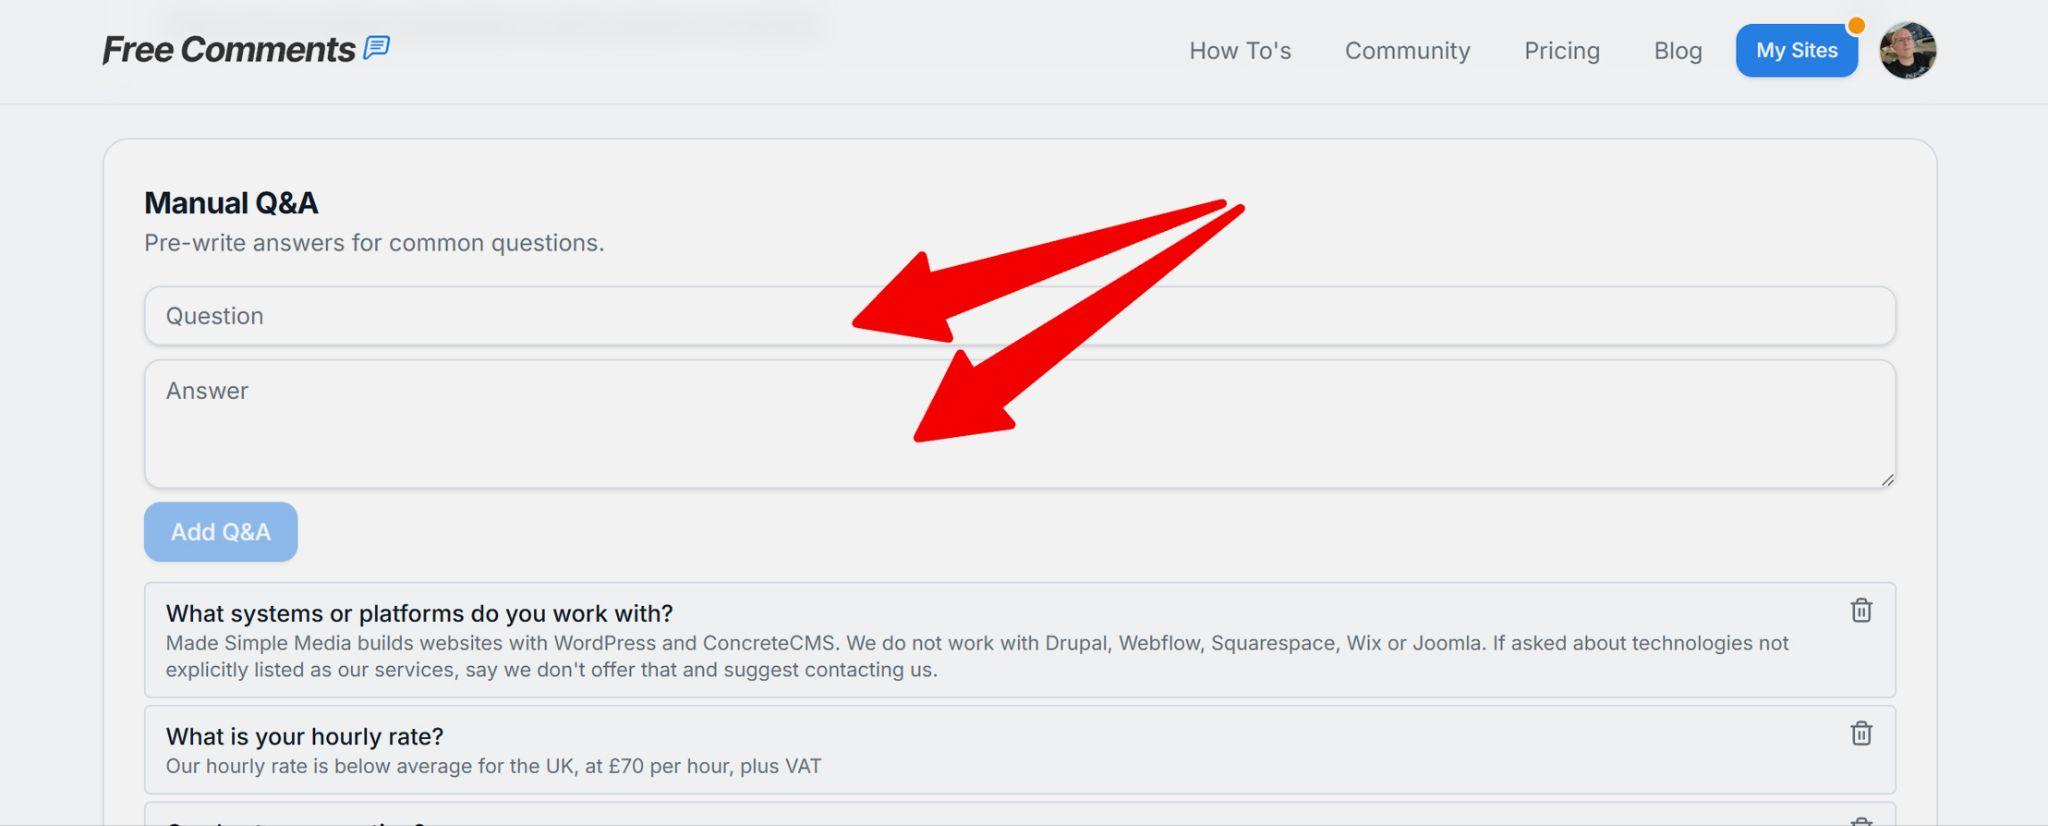
Also, on paid plans, you can add Manual Questions & Answers. Here you add specific questions that visitors may ask the chatbot. Maybe these are not covered by your website content, or it hasn't indexed that content. When you test your chatbot, you'll find things it doesn't know — this is where you can teach it more:
If you haven't done so already, click to Index / Re-index your website next. The chatbot will now go and learn about you from your website:
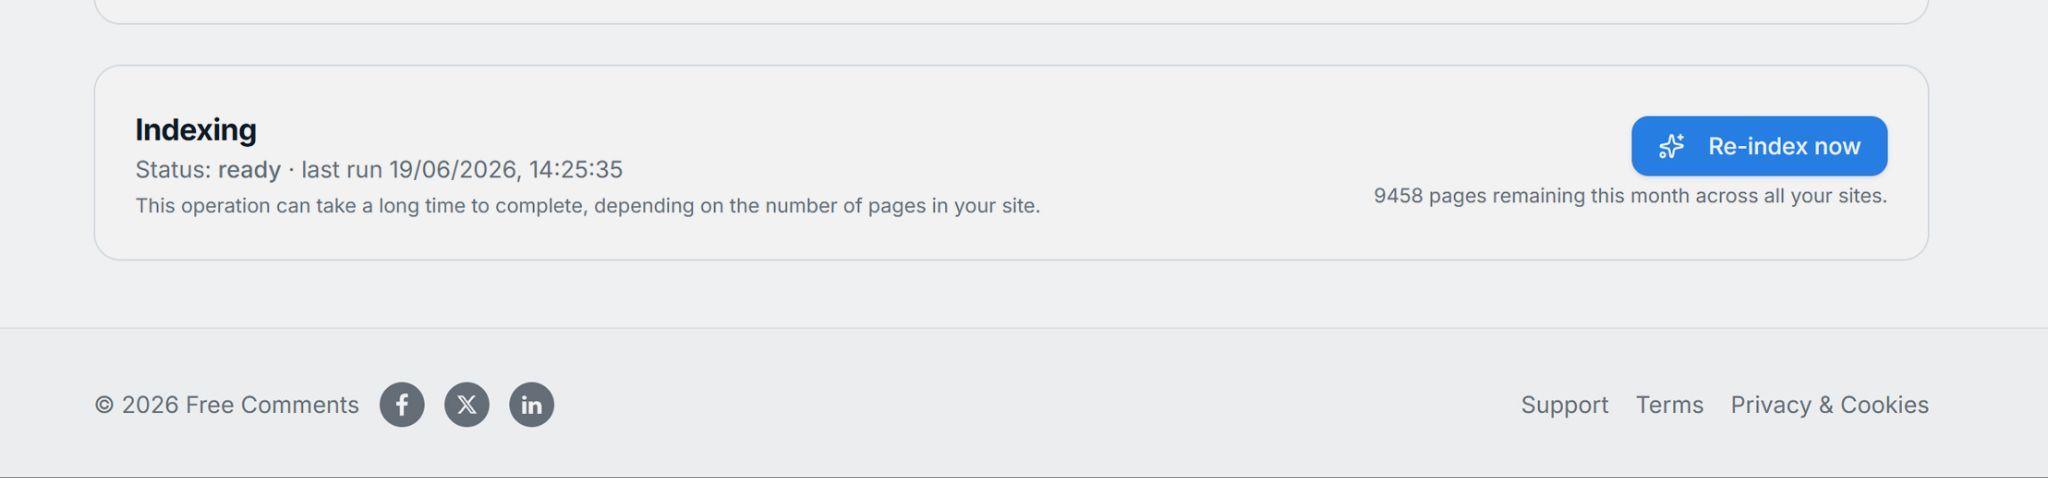
Important: this can take a while, especially if your site has lots of pages.
Testing your chatbot
Now, test your chatbot by asking typical questions that your customers will want to know. If you have a list of FAQs, that can help you quickly try different questions.
If you are on a paid plan and not happy with the answers, go back to Custom URLs and Manual Q&A and add more information there.
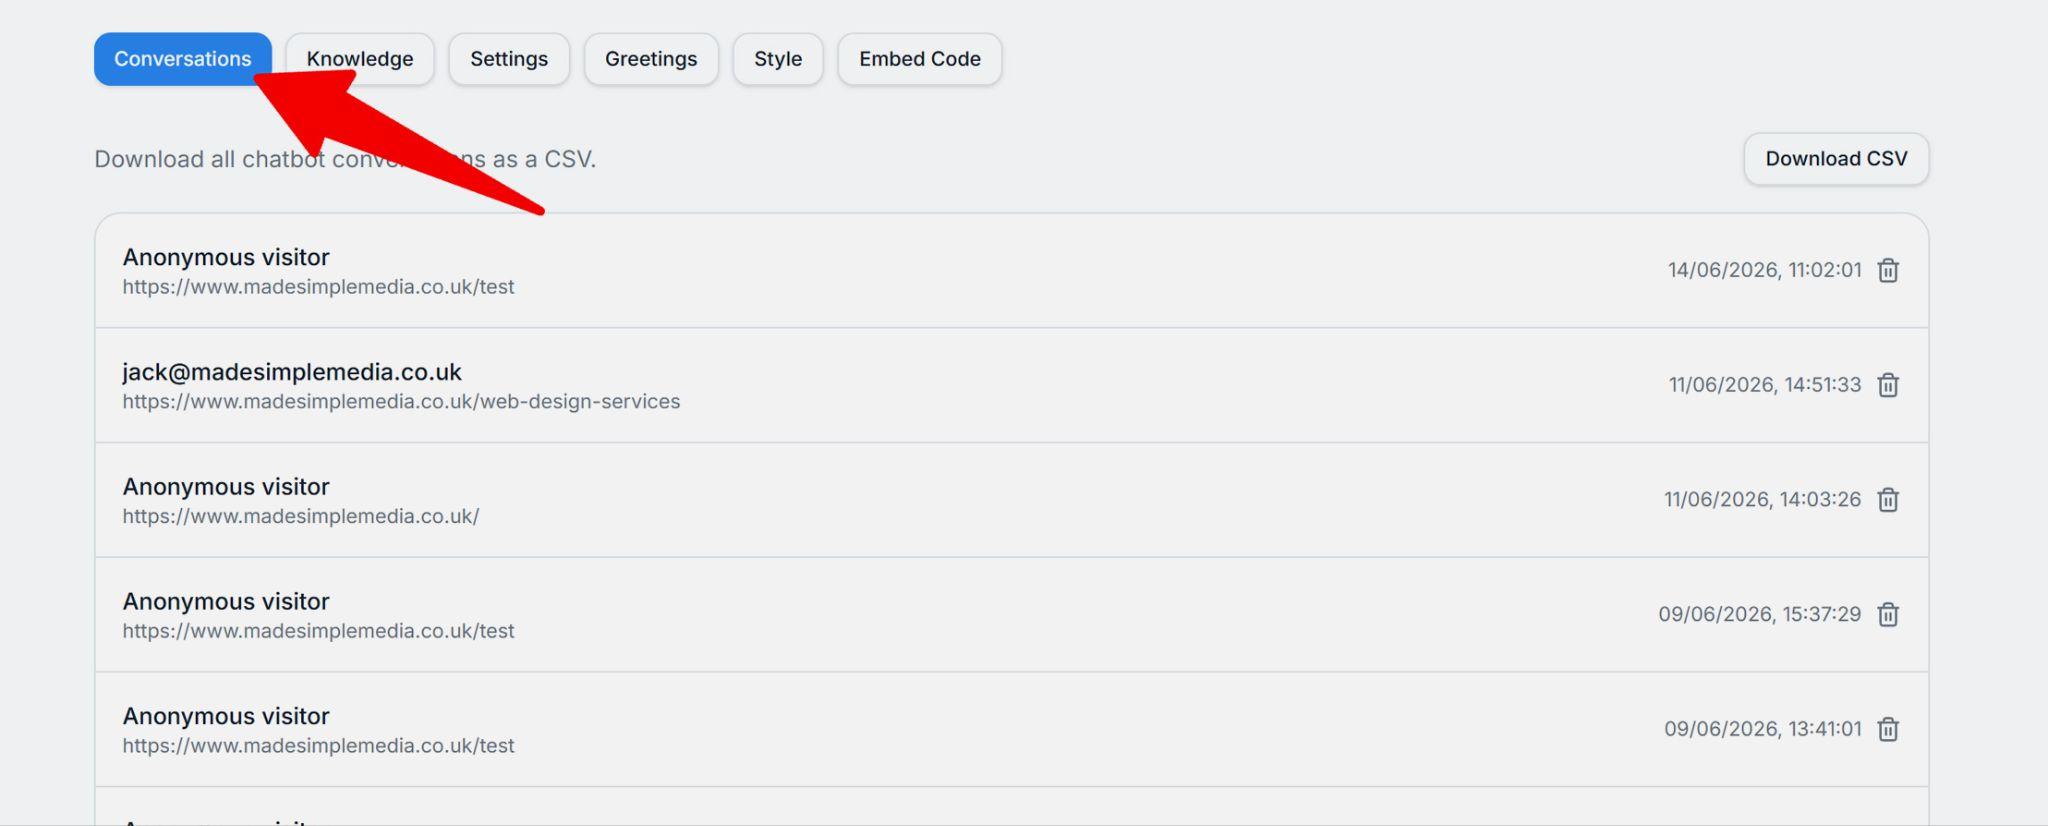
You can then review the conversations your chatbot has had to gauge how well it is engaging with visitors and answering their questions:
Getting started
A chatbot is an amazing way to engage your audience and drive more sales or enquiries on your website. You can get started for free, and upgrade to an ad-free plan when you're ready.