Per-site settings
Open a site from your dashboard to access its settings. Each site has its own configuration — on our Agency plan you can run multiple sites with completely different styles and settings, perfect for customers with multiple websites.
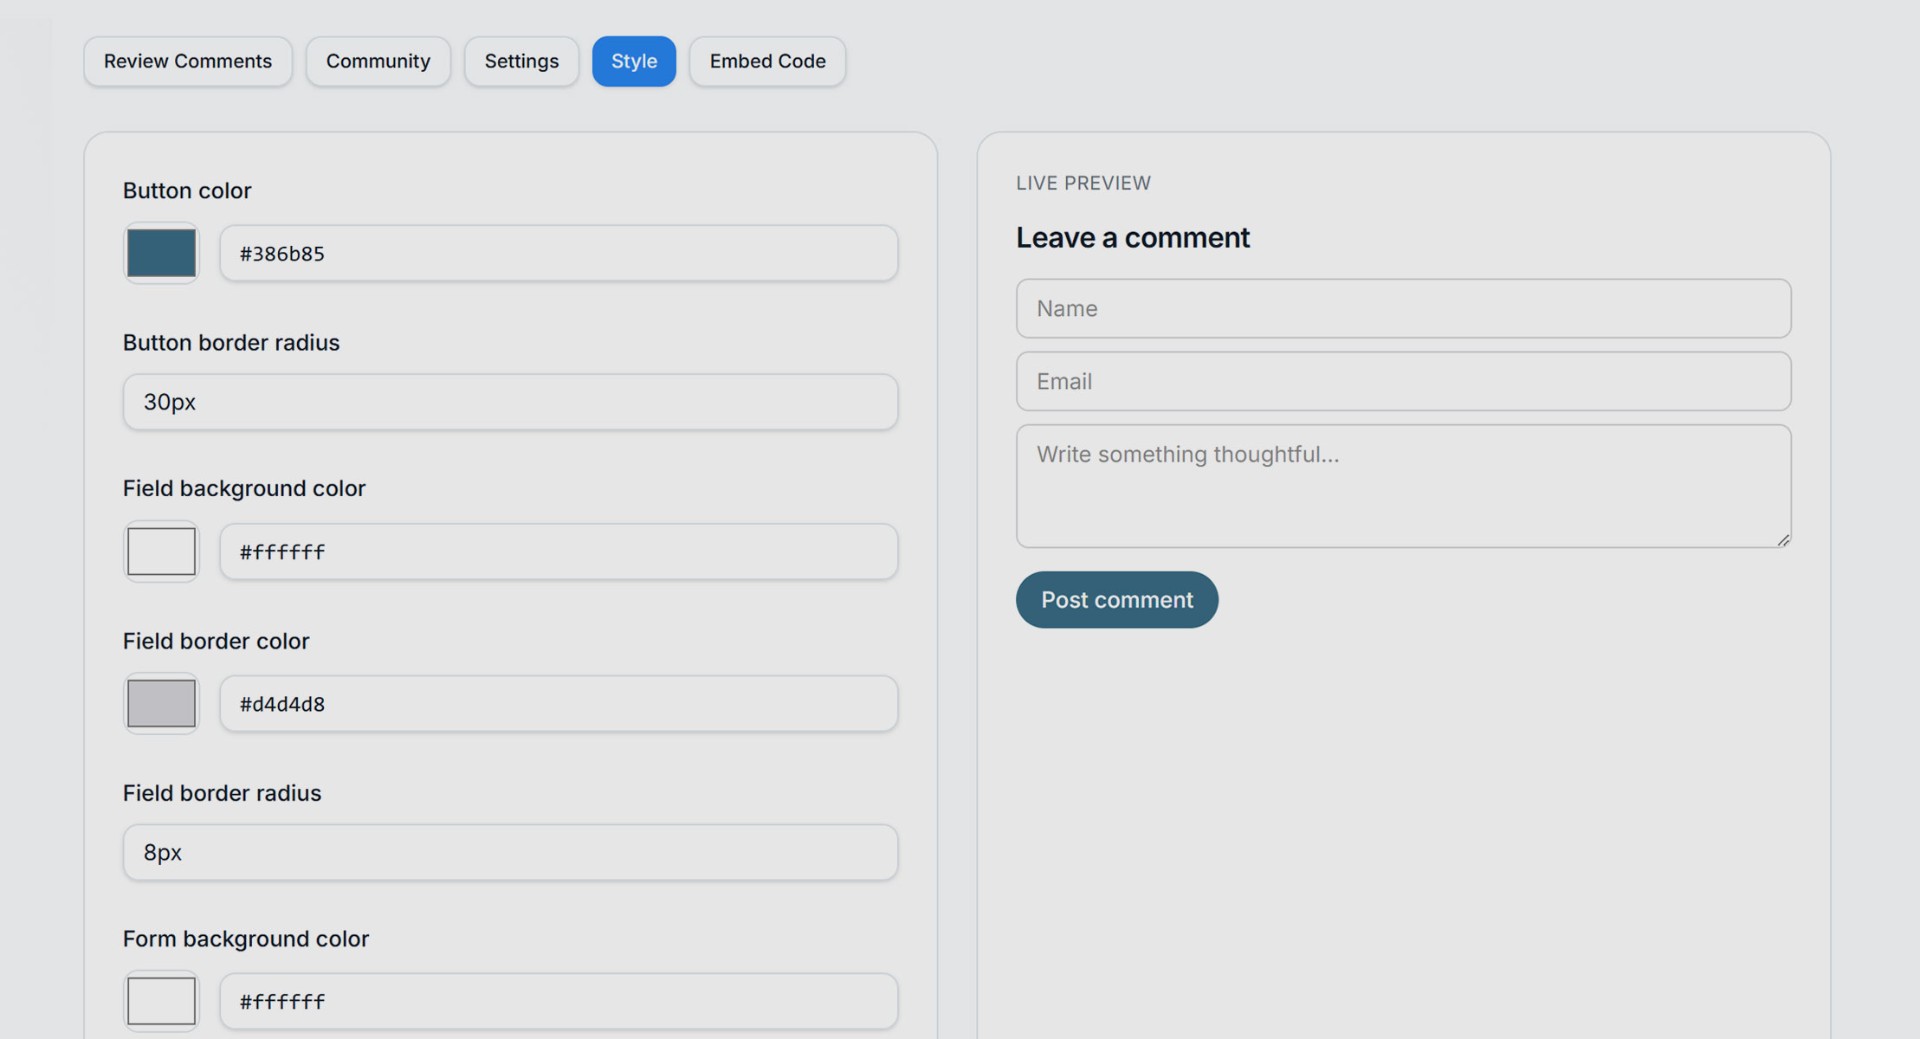
Appearance
The widget inherits sensible defaults that work on light and dark backgrounds. You can also:
- Choose the font*, colours, and other styles to match your website's branding.
- Upgrade to a paid plan, to remove the small Free Comments ad and link at the bottom of the widget.
*The Free plan offers limited choice of fonts, upgrade to access more Google fonts
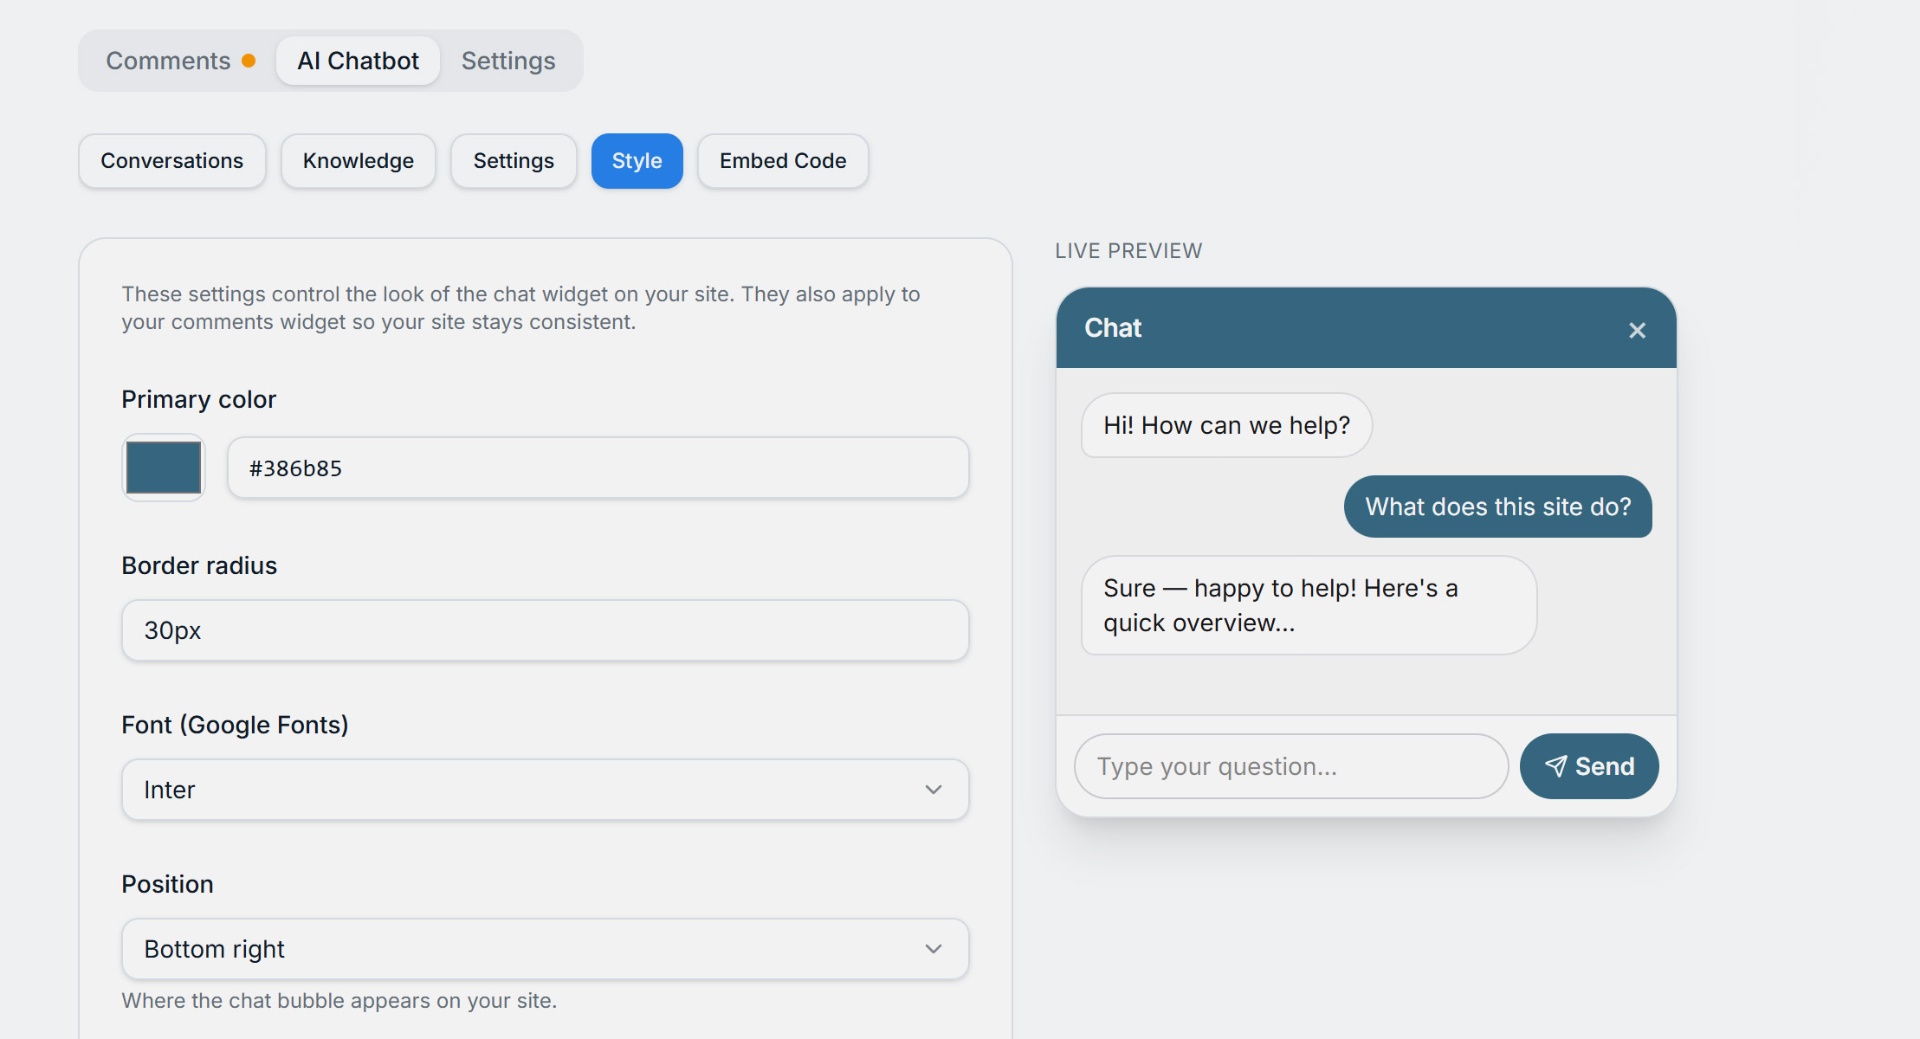
You can style the chatbot in the same way.
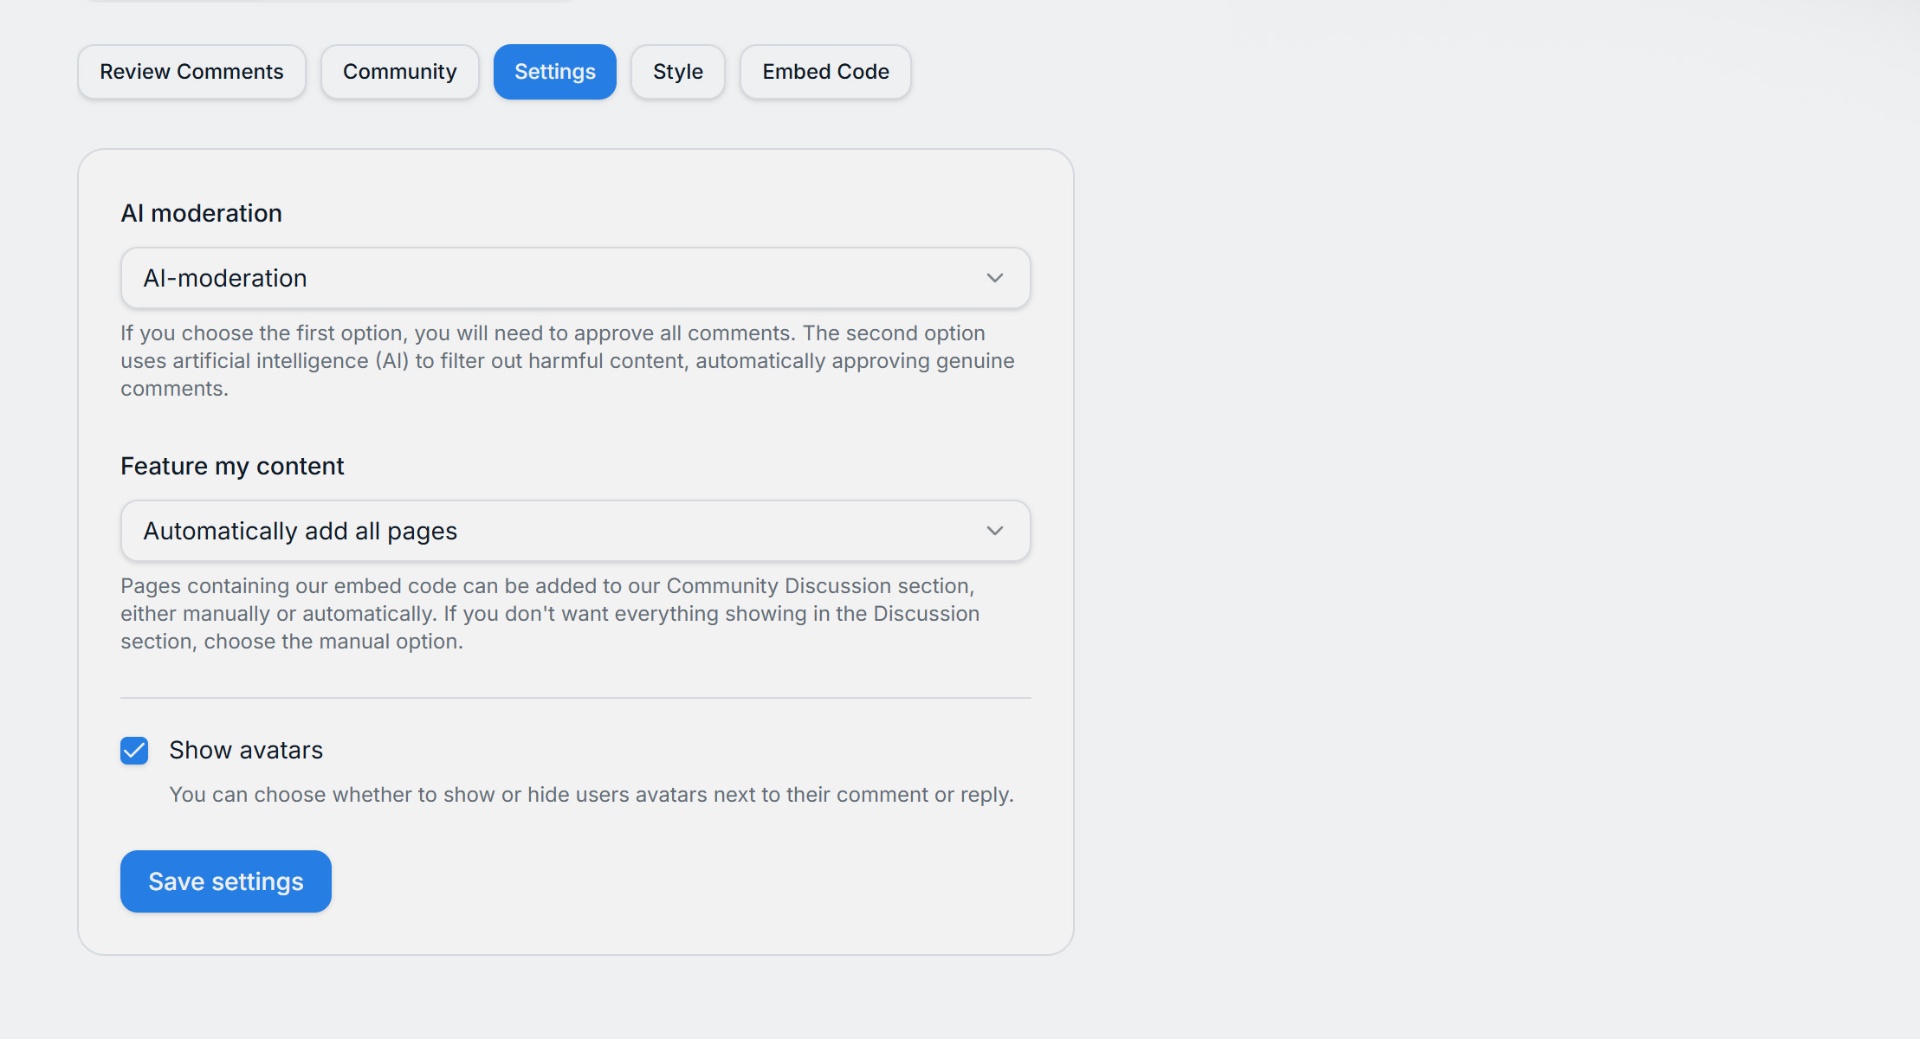
Adjust the widgets settings
Change the settings in your Comments widget to suit your requirements:
For the chatbot, we also have settings, where you can turn the chatbot on and off, change the greeting and add a fallback email address that the bot will give out if it recommends that a user should contact you for more information.

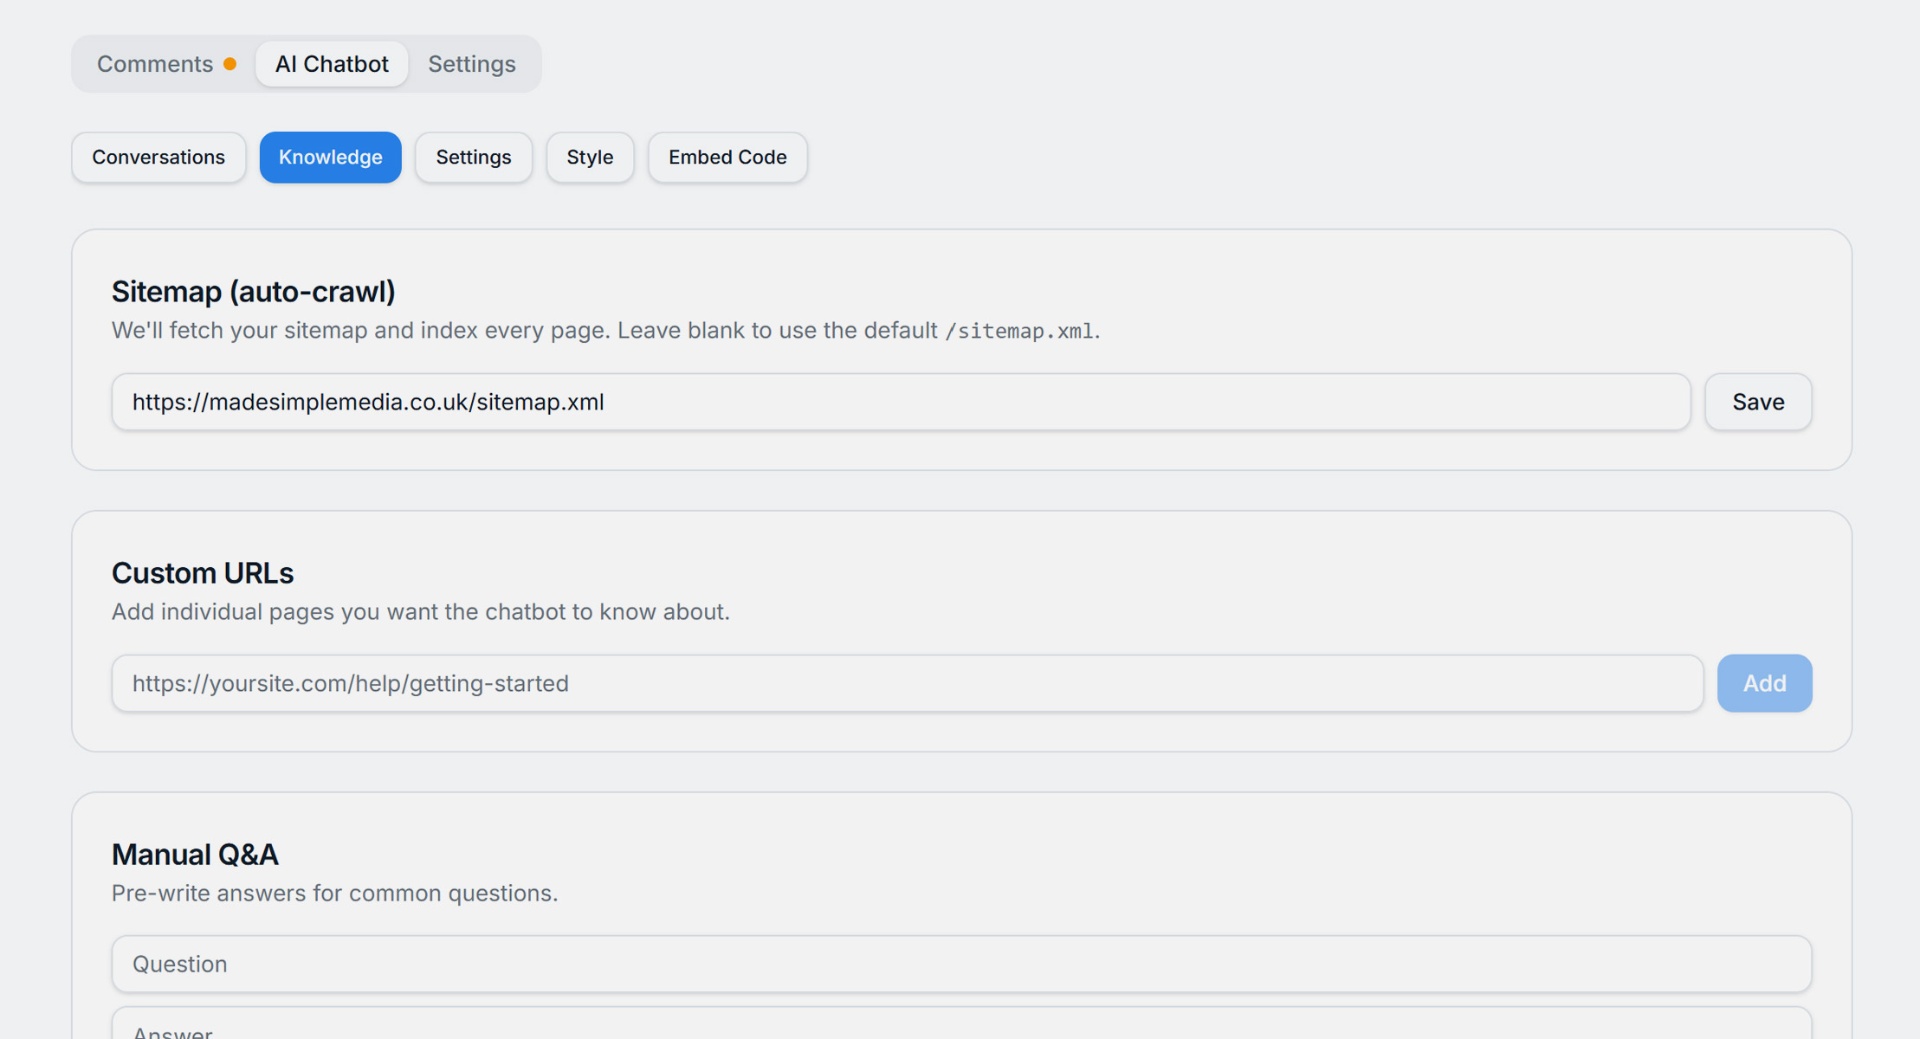
Also, the Chatbot has a tab called Knowledge. This is where you tell the Chatbot where to learn, so it can help your site customers. It can crawl your site and you can enter manual questions to boost it's knowledge further.
Test your widget
Now save your settings and return to your site. Refresh the page a couple of times, it may need a hard refresh. You should see your updated widget, looking exactly how you want it.
Removing the widget
Just delete the embed script from your page. Past comments stay in your dashboard until you delete the site itself.