1. Create your account
Head to the sign up page and create an account with email and password, or sign in with Google. You'll receive a welcome email with a quick tour of what to do next.
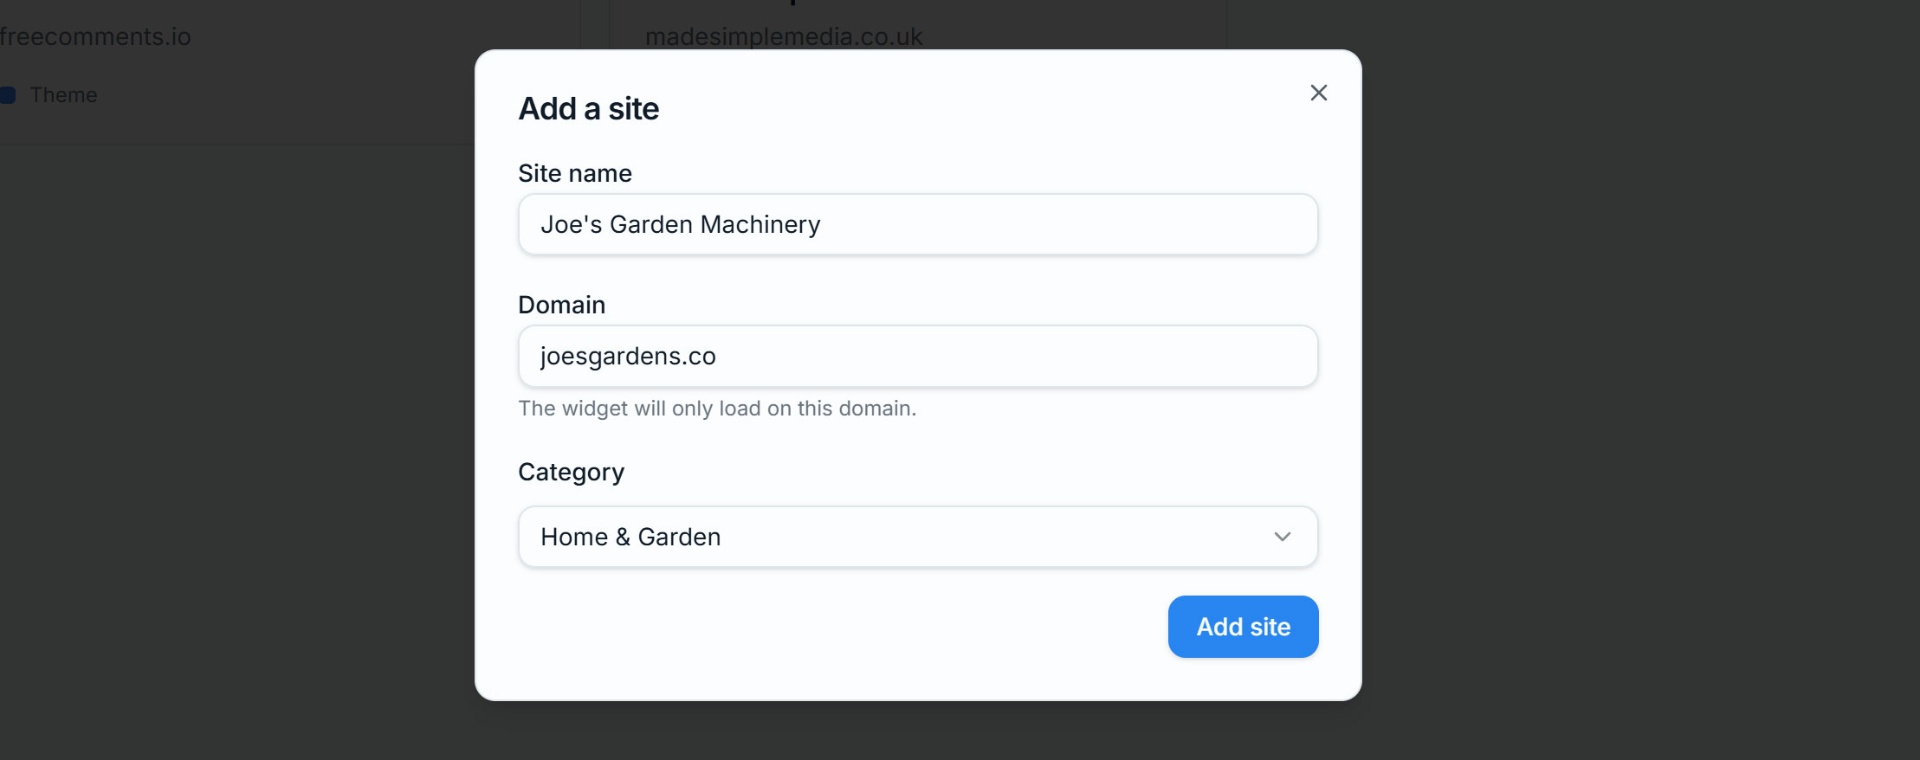
2. Add your first site
Open My Sites and click Add site. You'll need:
- Site name — what you call it internally (e.g. "My blog").
- Domain — the exact hostname comments will be posted from, like
example.com(nohttps://, no trailing slash). - Category — choose the category that represents what the site is all about.
On the Free plan you can register one site. Upgrade to Pro to add more.
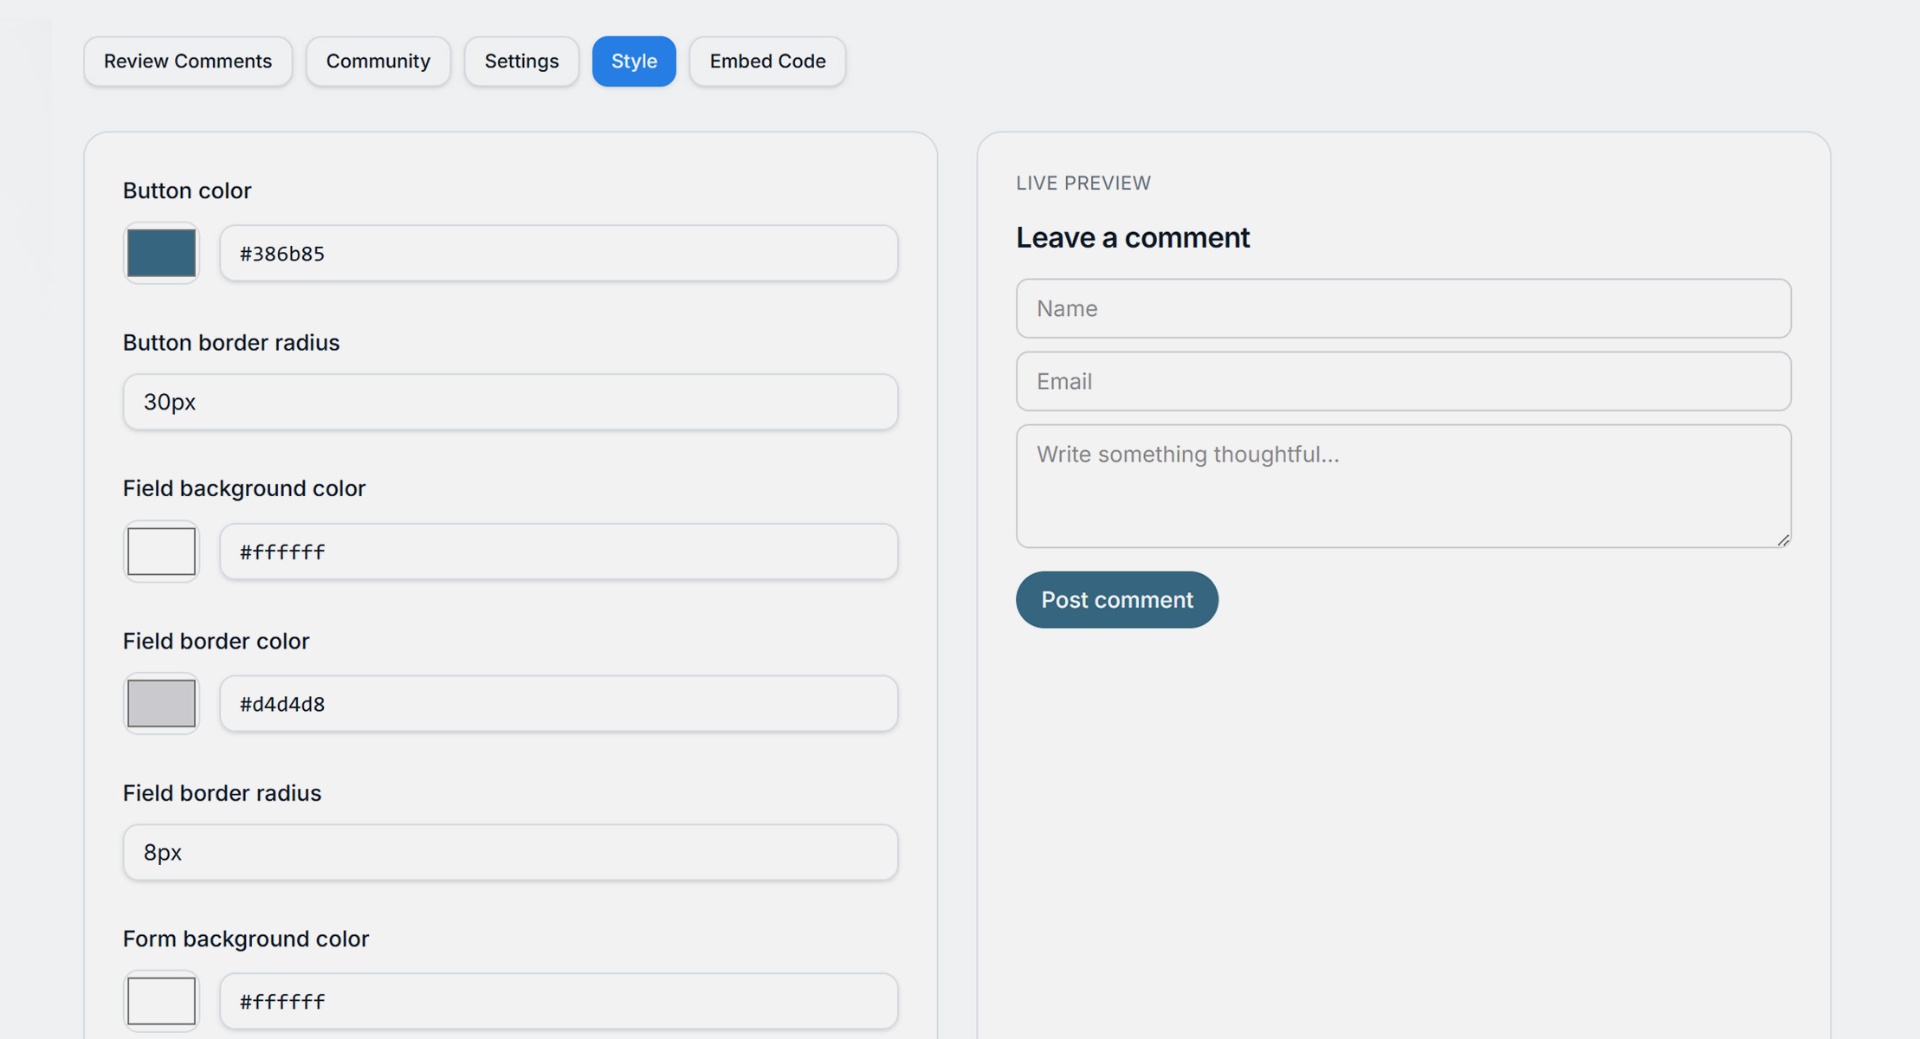
3. Choose your styles
After adding your site, click to open it in the Dashboard. Choose either Comments or AI Chatbot. Click "Style" and change the colors, fonts etc to match your site.
You can see how it'll look in the Live Preview on the right. When you are done, click "Save styles".
4. Embed your snippet
After adding your site, click to open it in the Dashboard. Choose to embed either the Comments or AI Chatbot script. In this example, we'll embed Comments. So under Comments, go to Embed Code and you'll see a script tag that looks like this:
<div id="freecomments"></div>
<script src="https://freecomments.io/embed.js"
        data-site-key="YOUR_SITE_KEY"
        data-thread="unique-thread-id"
        async></script>
Paste it into the page where you want comments to appear. Each unique page should use a different data-threadvalue (a post slug works well) so comments stay scoped to that page.
When you embed your chatbot, add the code snippet in a global part of your site, such as the footer, so it will appear throughout your site.
5. Test it
Now open your site in your browser and go to the page where you added your Comments widget. It should now appear, letting visitors leave a name, email, and comment on your site.
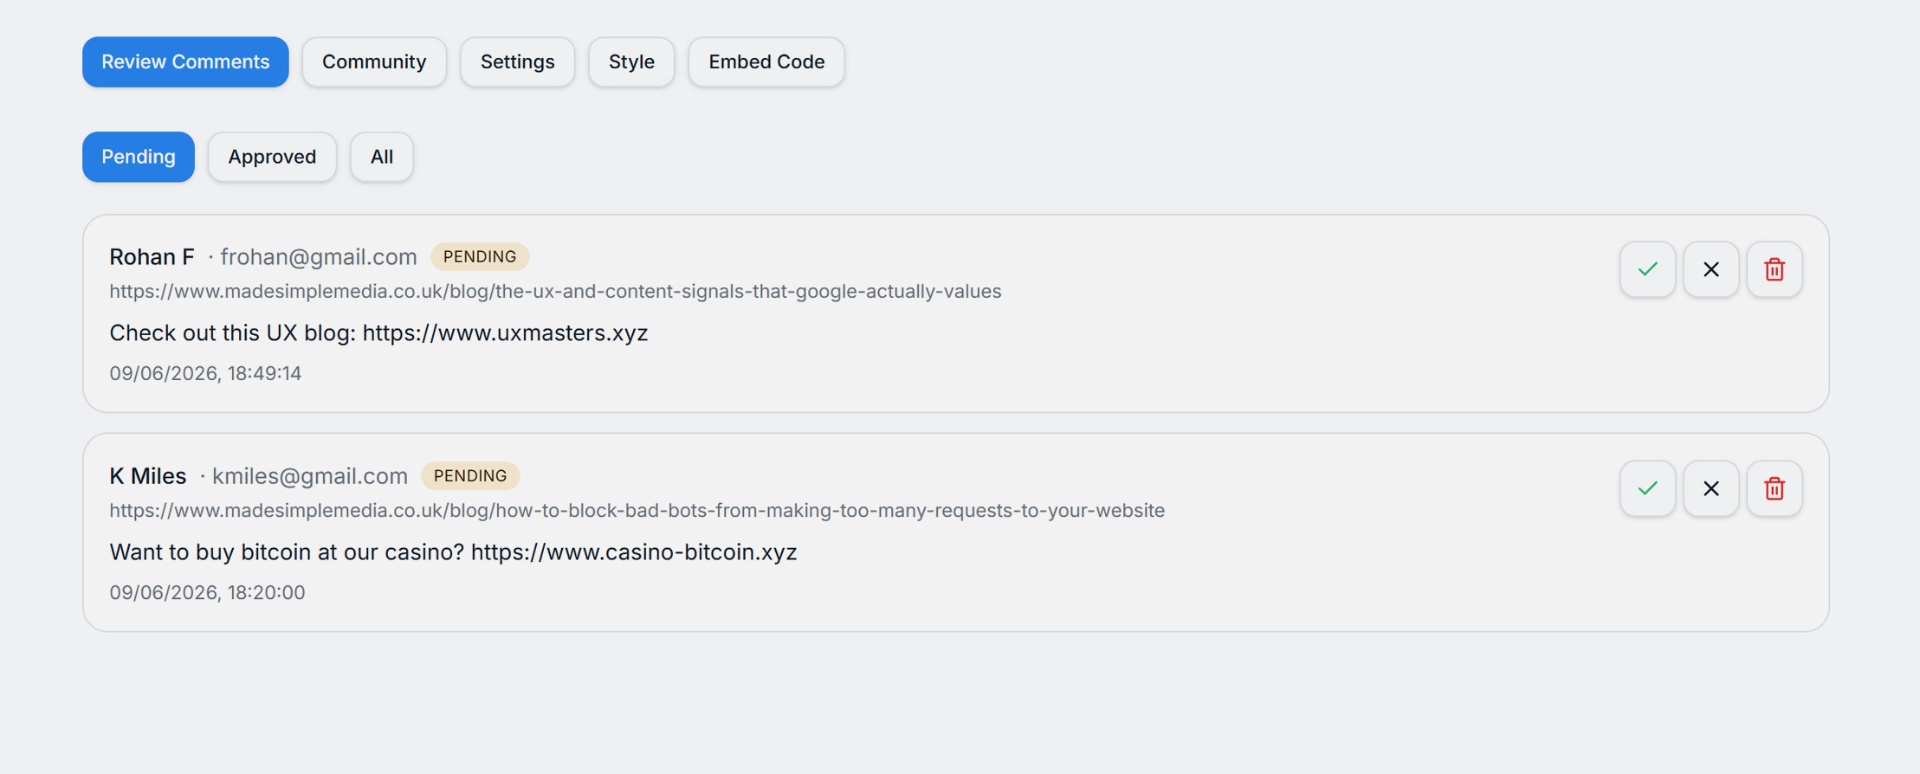
New comments show up immediately in your dashboard for moderation. If you chose AI moderation, chances are the comment will appear immediately, otherwise you will need to approve or deny comments manually.
Troubleshooting
- Widget doesn't appear: check the browser console — usually the
data-site-keyis wrong or the domain doesn't match what you registered. - "Domain not allowed": the page must be served from the exact domain you registered. Subdomains count as different domains.
- Comments not posting: make sure the
div#freecommentscontainer is present before the script tag runs.
Have fun, and if you need any help, just contact our support team!